


Melting chocolate the right way is important for making smooth and shiny molded chocolates. If it's too hot or melted the wrong way, it can become lumpy or dull. In this guide, you'll learn the best methods on how to melt chocolate for molds properly so it fills chocolate molds easily and sets with a nice finish. Let's get started!

Part 1- What are the Methods to Melt Chocolate for Molds?
Quick Steps for Melting Chocolate for Molds:
- Step 1- Chop the Chocolate – Cut it into small, even pieces for smooth melting.
- Step 2- Heat the chocolate in a bowl over simmering water, stirring until smooth.
- Step 3- Stir Well – Mix until fully melted and glossy.
- Step 4- Fill the FDA-approved molds, pour chocolate in, and tap to remove air bubbles.
- Step 5- Let It Set – Refrigerate for 15-30 minutes until firm.
- Step 6- Unmold & Enjoy – Gently pop chocolates out and serve!
Now, let’s learn the method of preparing traditional chocolate in detail.
Method 1- Microwave:

Heating your chocolates or candy melts in the microwave without any precautions will burn them. So, it is better to heat them in short 30-second bursts. The steps to heat the candy melts in the microwave are as follows:
- Put your chocolates in a microwave-safe bowl.
- Heat them for about 30 seconds, take them out, and stir to make the temperature even.
- Repeat the process until it looks smooth and creamy.
Note: Traditional chocolates can also be melted using the same microwave and double boiler method. If you want perfect results, grab a cooking thermometer to check the temperature of the chocolate during the process. When the chocolate has a melted look and smooth consistency, check its temperature. Your chocolate is good to go if the thermometer shows around 45 °C.
Method 2- Double Boiler:

The double boiler method is slow and steady, but it gives perfect results every time. And you don’t need to be extra careful while melting chocolates in a double boiler. The steps to heat the candy melts in a double boiler are as follows:
- Place a heatproof bowl over a pot of gently boiling water to make a double boiler.
- Put your candy melts into this bowl and keep stirring until it has a melted look with a smooth texture.
Part 2- What Are the Ways to Temper Chocolate?
When we heat our chocolate and then cool it quickly, it changes the texture of the chocolate. This process gives chocolates a glossy shine and improves its appearance. Tempering makes your chocolate look appealing and smooth. You have to make an effort in this step. It takes some time and practice to master it. But the results are worth it. Here are two common methods for tempering.
1. Seeding Method

- Melt two-thirds of your chocolate over a double boiler or in the microwave, stirring frequently to prevent burning.
- Once melted, remove from heat and add the remaining one-third of chopped chocolate.
- Stir continuously until all the chocolate is melted and the mixture is smooth and glossy.
- This method relies on the stable crystals in the unmelted chocolate to "seed" the melted chocolate and encourage the formation of stable beta crystals.
Once your chocolate is properly tempered, using the right mold is essential for achieving a flawless finish. Silicone molds can make the process easier, ensuring smooth and well-shaped chocolates. Learn how to use silicone molds effectively to get the best results.
2. Tabling Method

- Melt your chocolate completely over a double boiler or in the microwave.
- Pour the melted chocolate onto a clean and dry marble slab.
- Using a spatula or scraper, spread the chocolate back and forth, working it to cool it down.
- As the chocolate cools, it will start to thicken and become more matte.
- Once it reaches the desired temperature, gather it up and it's ready to use.
- Professionals often use this method as it's fast and efficient.
Once you've got your chocolate tempered, pouring it into molds will help you shape it into those picture-perfect forms. Silicone molds are a fantastic choice because they're flexible, making it easy to pop your chocolates out without messing up their smooth surface. After you're done, it's important to clean your silicone molds properly. This stops any leftover chocolate from sticking and keeps your molds in top shape for all your future chocolate-making adventures.
After melting and tempering your chocolate, it's important to avoid issues like sugar bloom. This blog, What is Sugar Bloom on Chocolate? explains how you can prevent it for a smoother, shinier finish.
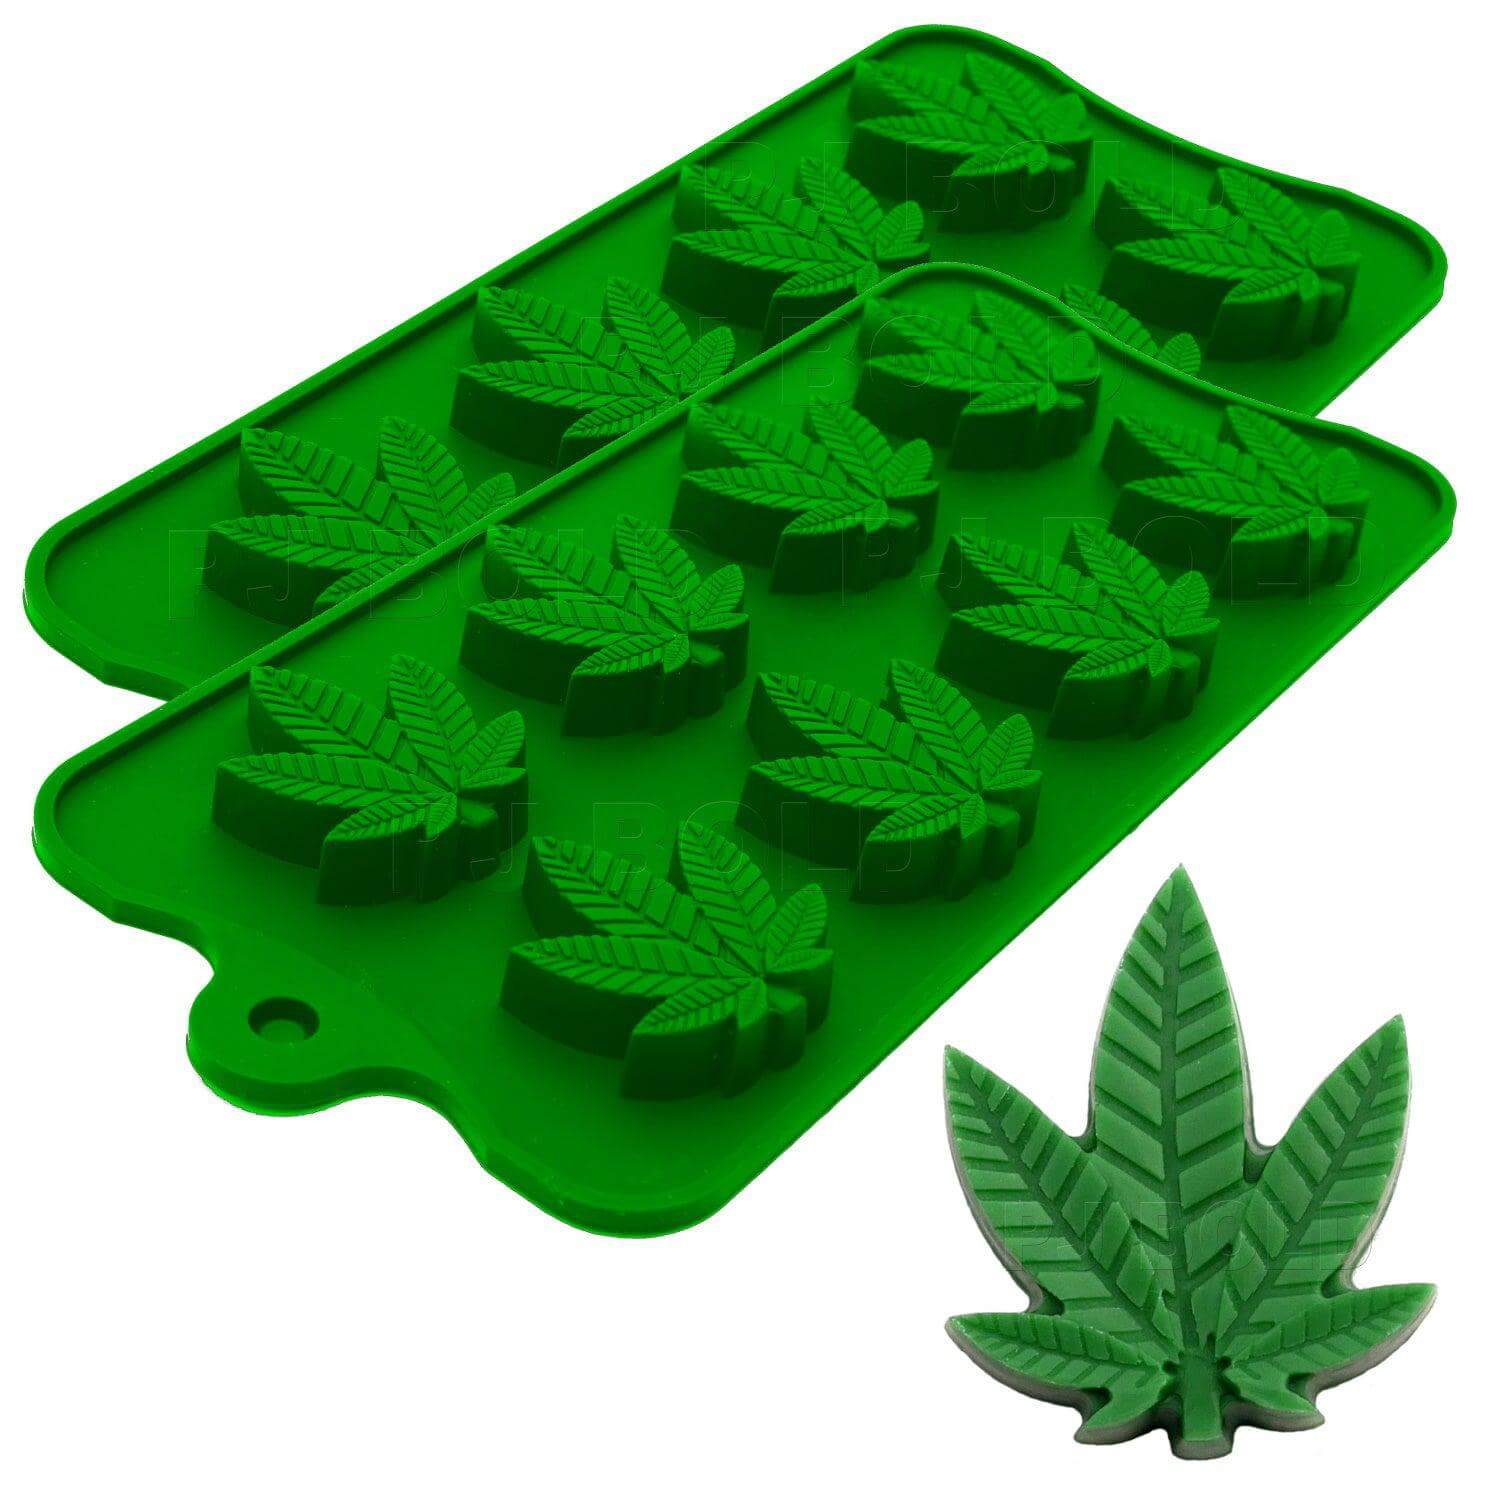 Hemp Leaf Green Silicone Molds Buy Now
 Bear Silicone Mold Buy Now
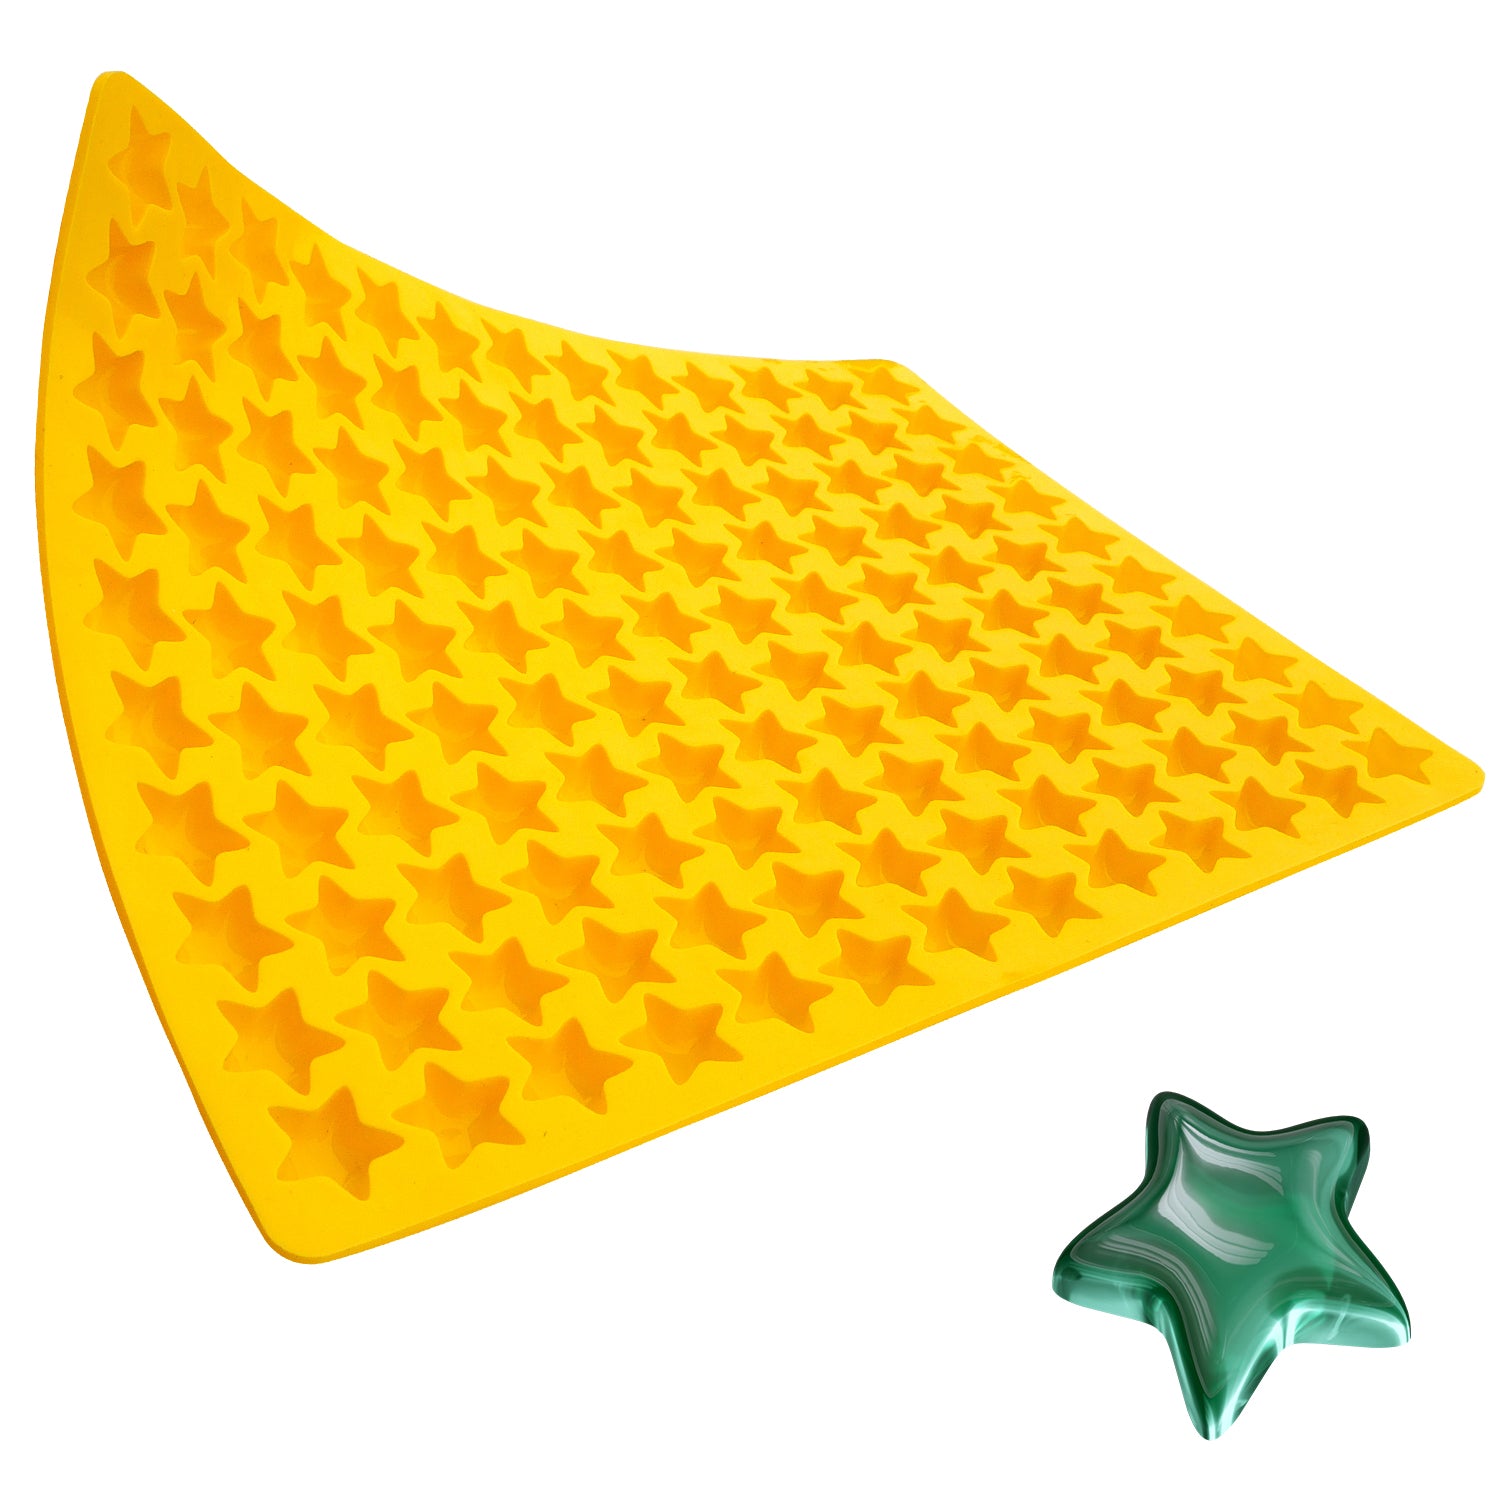 Candy Star Molds Buy Now
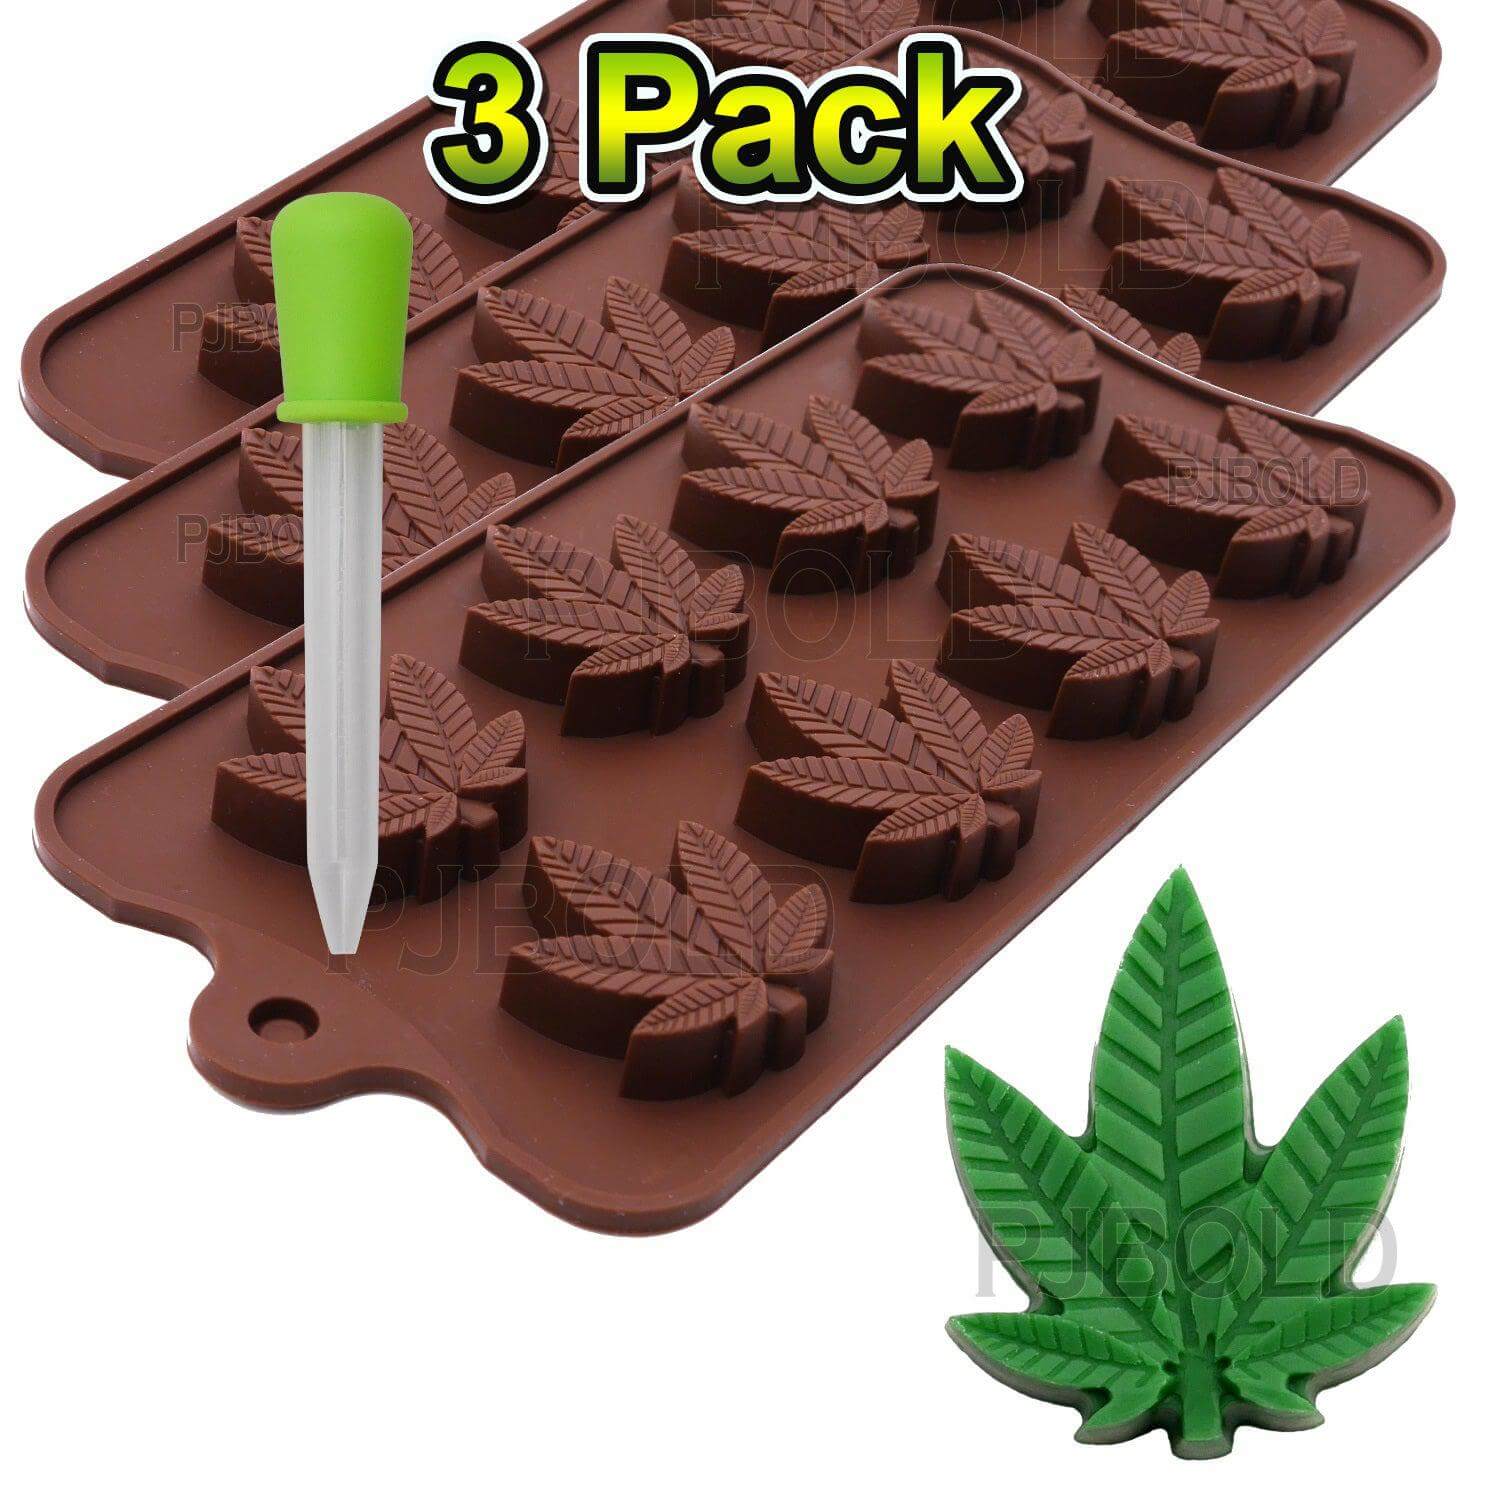 Hemp Leaf 3 Pack Silicone Molds Buy Now
 Leaf Candy Bar Mold Buy Now
 Marijuana Cannabis Hemp Leaf Silicone Molds Buy Now
 Square Silicone Candy Mold Buy Now
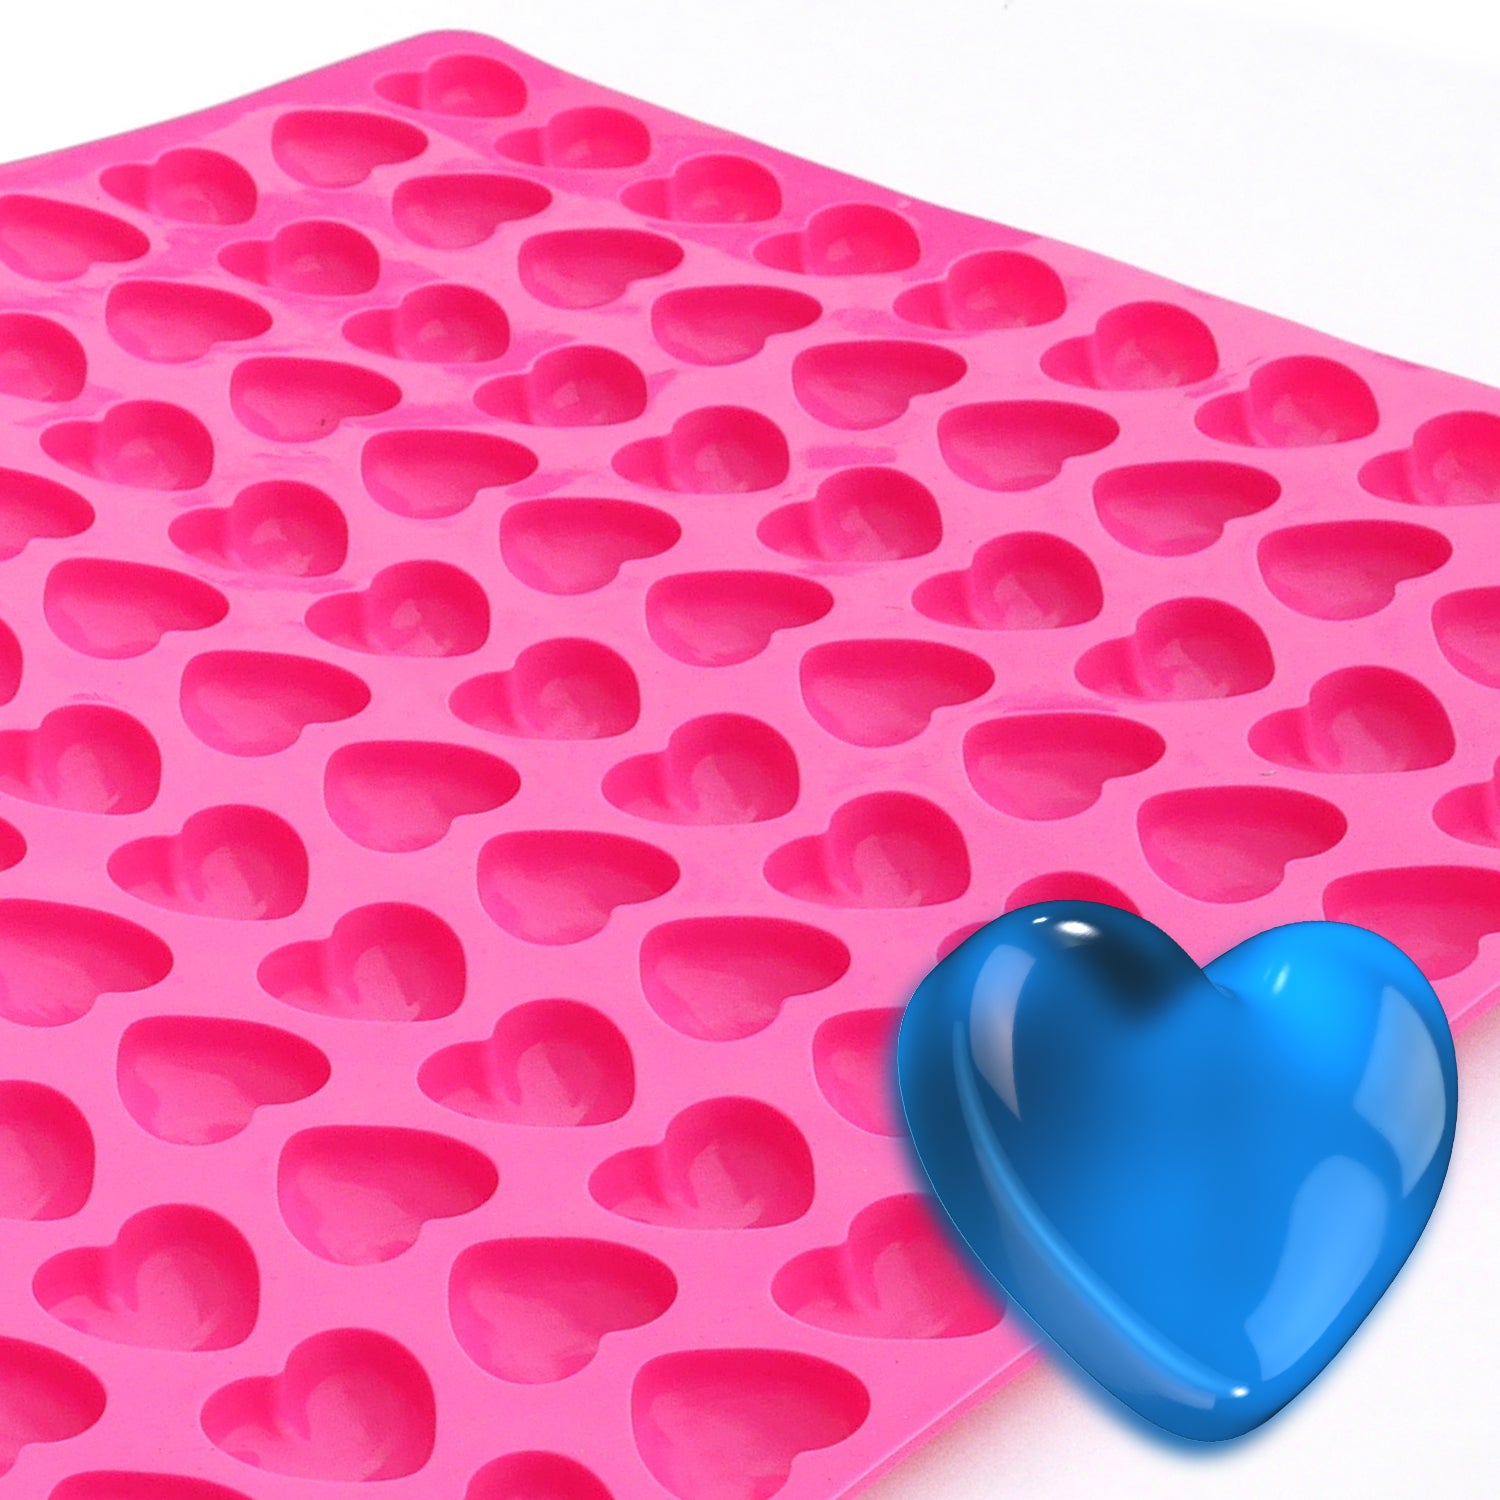 Heart Chocolate Mold Candy Buy Now
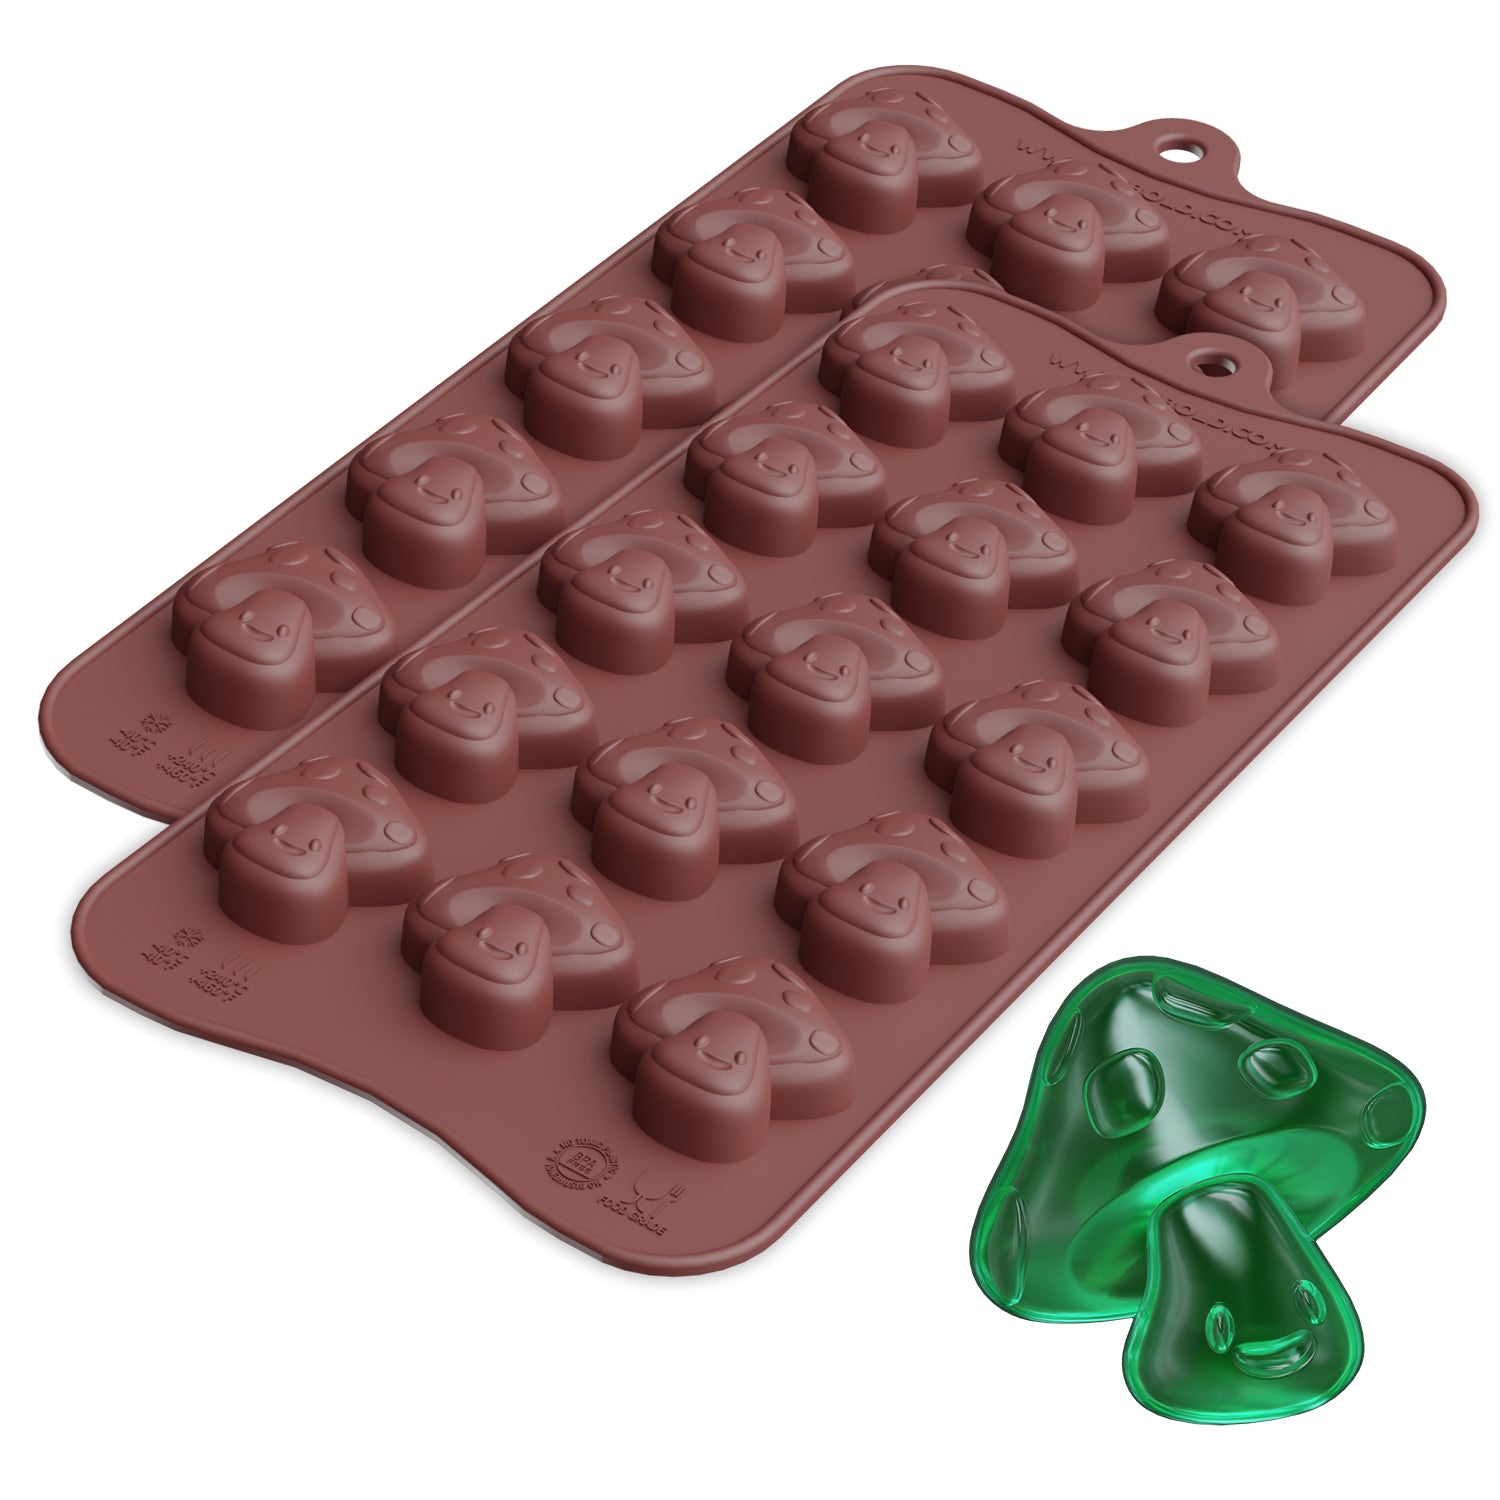 Mushroom Chocolate Silicone Candy Mold Buy Now
Part 3- Find the Perfect Mold to Shape Your Chocolate Creations
Your chocolate is ready; it's time to choose the ideal mold to bring your creations to life! The world of chocolate molds is vast, so let's break down your options.
PJ Bold’s Silicone Molds:

If you're new to chocolate making, silicone molds are awesome. They're super flexible, so your chocolates pop out easily. Plus, they come in all sorts of fun shapes and sizes! PJ Bold has a great selection; silicone works well for candy melts and traditional chocolate.
PJ Bold's Advantage:
PJ Bold makes chocolates molds, candle molds, leaf cake molds, or even soaps molds. We use safe and FDA-approved materials. And if you need something special, we can make a custom mold just for you!
PJ Bold wants your treats to be as awesome as possible. Ready to fill those molds? In the next section, we will explore some creative decorating ideas!
Choosing the right mold is essential for creating beautiful chocolates. This Guide to Chocolate Molds explores the various types of chocolate molds available and how to use them effectively.
Part 4- How to Decorate Chocolates for a Perfect Look?
Your chocolates are made. Now let's make them extra special. There are many ways to decorate chocolates.
Techniques for Adding Details Using Candy Melts:
Follow these techniques to get creative with your candy melt creations:
Piping and Drizzling:
To drizzle a hint of colors over your chocolates, melt some colorful candy melts and put them in a piping bag. You can also use a simple parchment paper cone. Now you can write messages, draw cool designs, or just drizzle those colors all over your chocolates.
Painting with a Brush:
You can also use a food-safe brush. Dip it in melted candy. Now you can paint patterns, write words, or create fun textures on your treats.
Let’s move on to decorating ideas for traditional chocolate.
Techniques for Adding Details Using Traditional Chocolate:
It's easiest to decorate real chocolate when it's set a bit, but not rock-hard. This is the time for some tasty add-ins:
Flavor Infusions:
A little pinch of citrus zest, some spices, or even a sprinkle of sea salt can change the flavor of your chocolate.
Fillings:
What about gooey surprise centers? Yes, please! Try caramel, ganache, a bit of fruit jam, and even chopped nuts, which give a delicious crunch to chocolate.
Experiment with flavors, textures, and colors to make your assorted chocolates. Now, let's make sure they look as good as they taste!
After you've made your chocolates, it's time to decorate them! This Easy DIY Candy Recipe will help you explore fun ways to embellish your treats, including candy melt techniques.
Part 5- How to Store and Present Your Chocolates Perfectly?
You put so much love into making your chocolates, so of course, you want them to stay delicious! Here's how to keep them fresh and looking their best:
Storing Your Treats:
Chocolate hates sunlight! The best place for them is a place that is cool, dry, and out of direct light. Pop your chocolates in an airtight container. This keeps them fresh and stops them from picking up weird smells. Chocolate can lose its shine and get a bit white in the fridge. It's okay for a short time in hot weather, but wrap them up tight first. Candy melts tend to last longer than traditional chocolate. For the best taste, try to consume your chocolates within a week.
Presentation Ideas:
Make your chocolates look as amazing as they taste! Here are a few ideas:
- A pretty box with some tissue paper looks cute and keeps chocolates safe.
- Foil or colorful cellophane wrappers on each chocolate look fancy.
- If you're serving them at a get-together, arrange those beauties on a decorative plate!
Remember to enjoy and share! Your homemade chocolates made with love are sure to bring smiles wherever they end up.
Conclusion
We've explored the essential steps of melting chocolate for molding, from choosing the right type to mastering tempering techniques. Silicone molds, like those offered by PJ Bold, make the molding process even smoother and easier. Now it's your turn! Select your preferred chocolate, melt it to perfection, and pour it into your molds. Show your creativity and spread happiness with these tiny treats.
For more tips and real-life experiences, check out this Reddit conversation on how to melt and flavor chocolate in an apartment kitchen.
How to melt and flavor chocolate in an apartment kitchen.
byu/silverwind91 inAskCulinary
Frequently Asked Questions
Which Type of Chocolate Should I Use in Silicone Molds?
Most types of chocolate work in silicone molds. We advise using specific chocolate for molds. These chocolates have the ideal cocoa butter content. They melt easily, set smoothly, and are released perfectly from the molds. For beginners, candy melts are also a good choice for making chocolate in silicone molds.
My Chocolate Is Full of Air Bubbles. What Do I Do?
Don't worry! Next time, after you pour the melted chocolate into your FDA-approved best molds, give it a few good taps on the countertop. That usually gets rid of those air bubbles. And there is another thing you can consider, your chocolate should not be too thick when you melt it. If it's like pudding, it's going to trap more air. You want it smooth and pourable for the best results.
How Long Should I Wait After Pouring the Chocolates into the Mold?
This depends on what kind of chocolate you're working with! The candy melts set up pretty fast. Regular chocolate takes a bit longer. Let your chocolates cool completely at room temperature. If you want to speed things up, you can place them in the fridge, but sometimes that makes them lose a little of their shine. Once the chocolates feel solid, they should come out of those silicone molds.
Do You Add Water When Melting Chocolate?
No, never add water to chocolate when melting it. Even a small drop can make the chocolate clumpy and hard to use. If you need to thin the chocolate, use a little bit of oil, butter, or cream instead.
How to Remove Chocolate from a Silicone Mold Without Breaking?
Make sure the chocolate is fully set before trying to remove it. Gently bend or push the back of the silicone mold to pop the chocolates out. If they are still sticking, place the mold in the fridge for a few minutes to help them release more easily.
Why Is My Chocolate Not Melting?
Your chocolate might not be melting because the heat is too low, too high, or uneven. Use a microwave in short bursts (stirring between each) or a double boiler (a heatproof bowl over a pot of hot water). Also, make sure no water gets into the chocolate, or it will turn thick and clumpy.
How to Stop Chocolate from Turning White After Melting?
Chocolate turns white (called blooming) when it's not tempered or when it's stored in a place that is too warm or too humid. To prevent this:
- Temper the chocolate if you want a shiny, smooth finish.
- Store it in a cool, dry place, away from moisture and sudden temperature changes.
Is Mold on Chocolate Harmful?
Chocolate does not grow mold easily because it has very little water. If you see white or grayish spots, it's usually just fat or sugar bloom, which is harmless and safe to eat. But if the chocolate smells bad or has a weird texture, it’s better not to eat it.


