


Did you know that there are over 50,000 candy and mold shapes made in the 1880s - 1970s? But you don’t have to know about all of them, as we’ll teach you everything that you need to know for common household molds.
This guide answers the most common questions about using candy and chocolate molds. You'll learn which materials work best, how to avoid common mistakes, and get pro tips for perfect results every time. Let’s get into it.
What Are Candy and Chocolate Molds?
Candy and chocolate molds are used by bakers to craft different types of confections. Mostly, the liquid form of the candy is poured into these molds like tempered chocolate, sugar syrup, or gelatin.
Candy and chocolate molds are made of silicone or polycarbonate materials. Silicone molds are more lightweight, flexible, and widely accepted. On the other hand, polycarbonate molds are tough and durable.
These molds come in a plethora of types. For example, a well-known brand, PJ Bold, offers more than 100 types of candy and chocolate molds.
What Types of Molds Are Best for Beginners?
Silicone molds are best for beginners. Apart from just being flexible, which makes remolding easy, they offer the following perks:
- Silicone molds are reusable, and you can employ them in the candy-making process multiple times.
- Thanks to their elasticity, they are resistant to falls and hits. This makes silicone molds durable.
- They often have a non-sticky nature. Hence, you can remove your final material without any probable damage.
- Silicon molds tolerate a wide temperature range. Therefore, they work for both chilled chocolates and moderately heated sugar confections.
The best thing about silicone molds is that you can use them to get perfect candies in a very short time, like 5 minutes or less. Hence, new bakers find it easy to use such molds.
Apart from silicon molds, the following types are also widely appreciated among beginners:
Thin plastic (acetate) molds are another beginner‑friendly option for seasonal or low‑cost projects. They’re lightweight, inexpensive, and available in many shapes, though they’re less durable and produce a less glossy finish than professional polycarbonate molds.
Polycarbonate molds deliver sharper detail and a high‑gloss surface, but they require precise chocolate tempering and careful cleaning. While not as forgiving, they’re worth considering once you’ve mastered basic molding techniques.
Know the complete difference between silicon vs polycarbonate molds so that you can always choose the best type as per your preferences.

Are Silicone Molds Safe for Food?
Yes, most silicon molds are safe for food. But if you are conscious about the safety of your confectiories, here are some tips for you:
-
Always go with food-grade silicone molds. Such molds often have the FDA or EFSA labels, ensuring they are tested and guaranteed to be free of harmful chemicals for food. PJ Bold offers food-safe molds for its customers with a wide range of heat tolerance and flexibility.
-
Don’t select molds that have fillers. To test it, pinch and twist the flat surface of the mold. If a white streak appears, know that it contains fillers and has a high risk of chemical migration.
-
Food-grade silicone molds are extremely resistant to a wide range of temperatures, from freezing to high heat (typically up to 428°F or 220°C). Therefore, you can use the silicone molds in ovens or freezers.
-
Cure new molds before use. Thoroughly wash with water and pre-bake in an oven at 350°F (175°C) for 30 minutes. This will remove any volatile compounds, making the mold safe for use.
A non-safe mold often contains siloxanes or other harmful chemicals. These can cause health issues. Therefore, understand the difference between food-grade vs. non-food-grade silicone molds before your purchase.
How To Use a Candy or Chocolate Mold?
You can use a candy or chocolate mold by preparing the mold, melting your confectionery, filling the cavities, allowing it to set completely, and then unmolding it. Read more on how to use silicone molds to get perfect confections in less than 5 minutes. For chocolate molds, a complete step-by-step guide can teach you how to use a mold at home.
How To Clean and Store Silicone Molds?
To clean silicone molds, hand-wash them with warm (below 60 degrees) water. You can also use soapy water or even a soft sponge for a detailed cleaning. For food-grade molds, you can put them in the dishwasher.
To store a silicone mold, first dry it. Then, put them in a place with no direct source of heat or sunlight in a flat shape. This will maintain their shape and integrity over time.
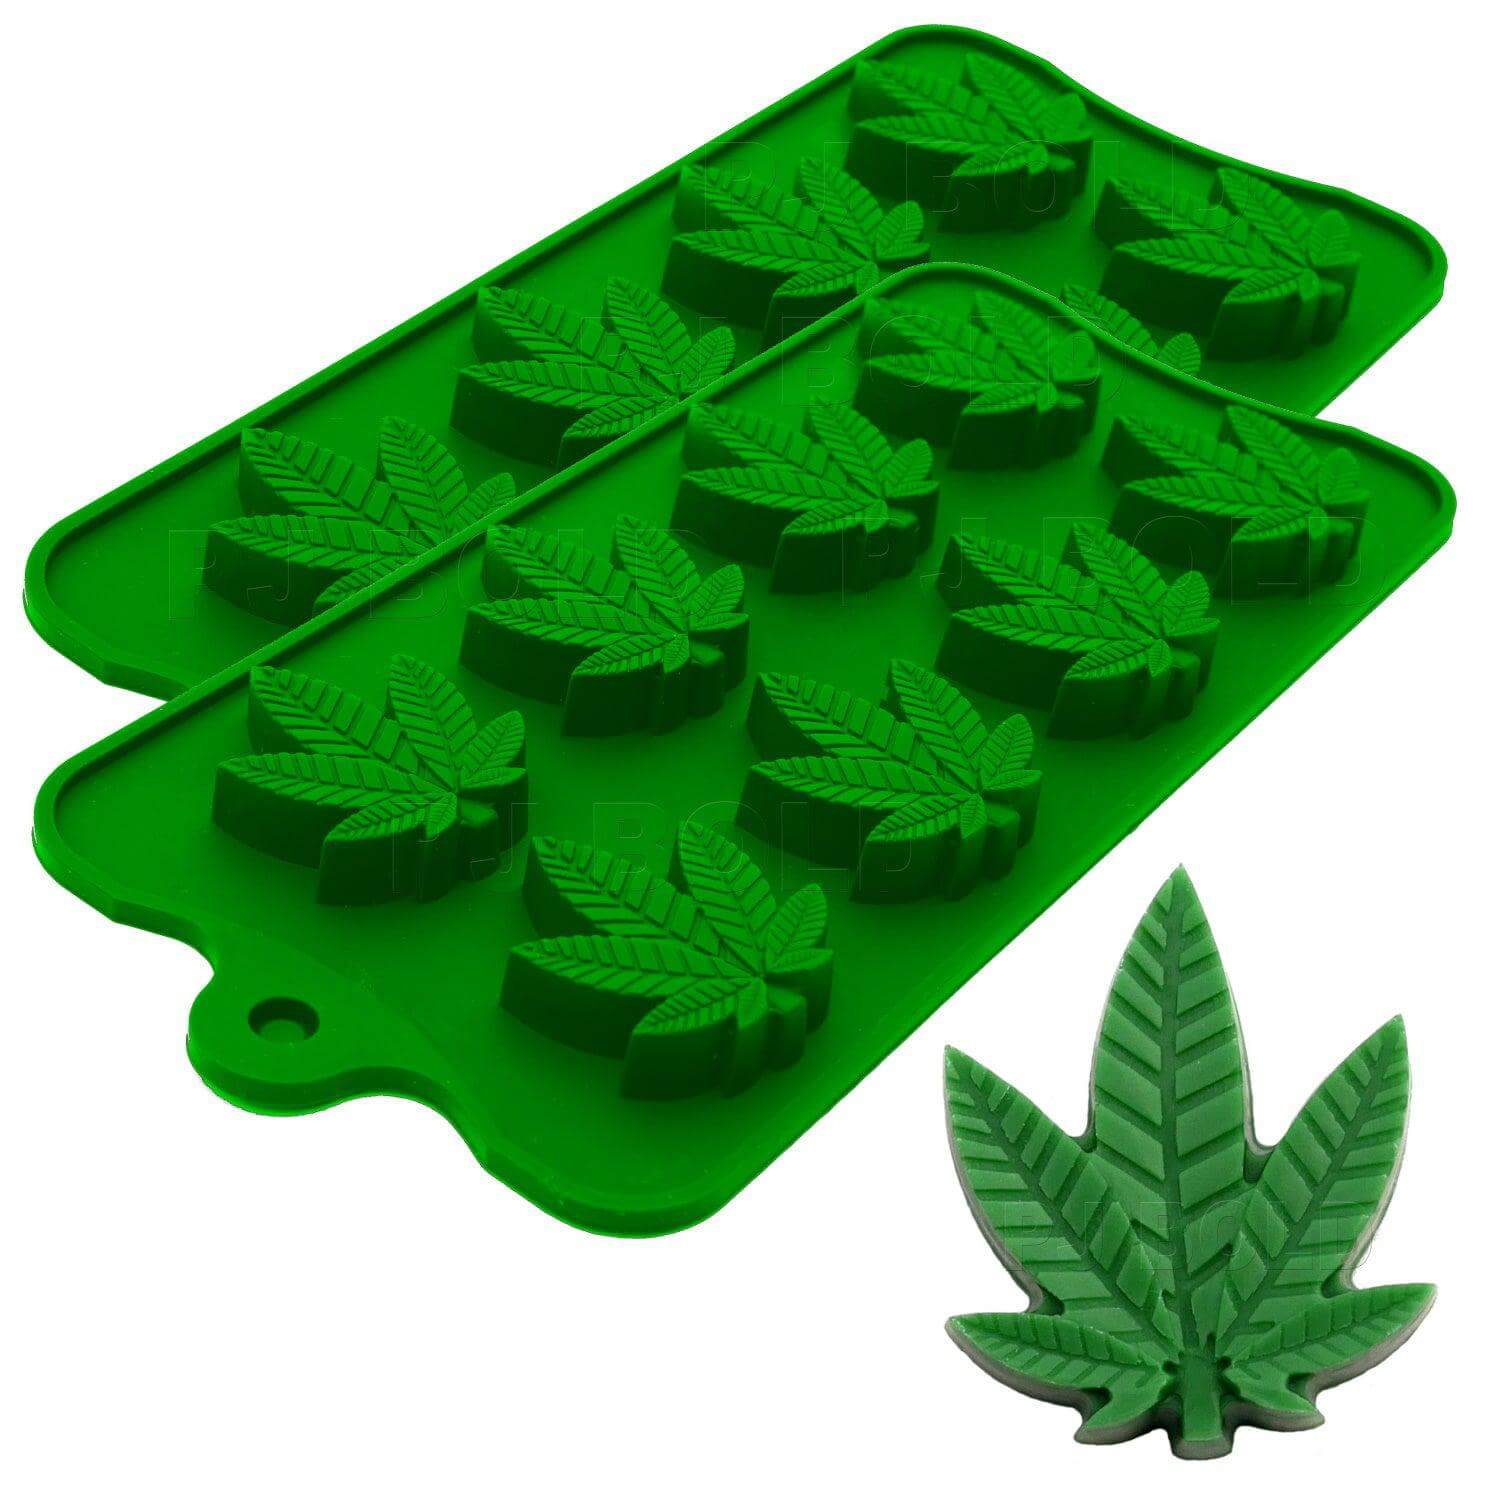 Hemp Leaf Green Silicone Molds Buy Now
 Bear Silicone Mold Buy Now
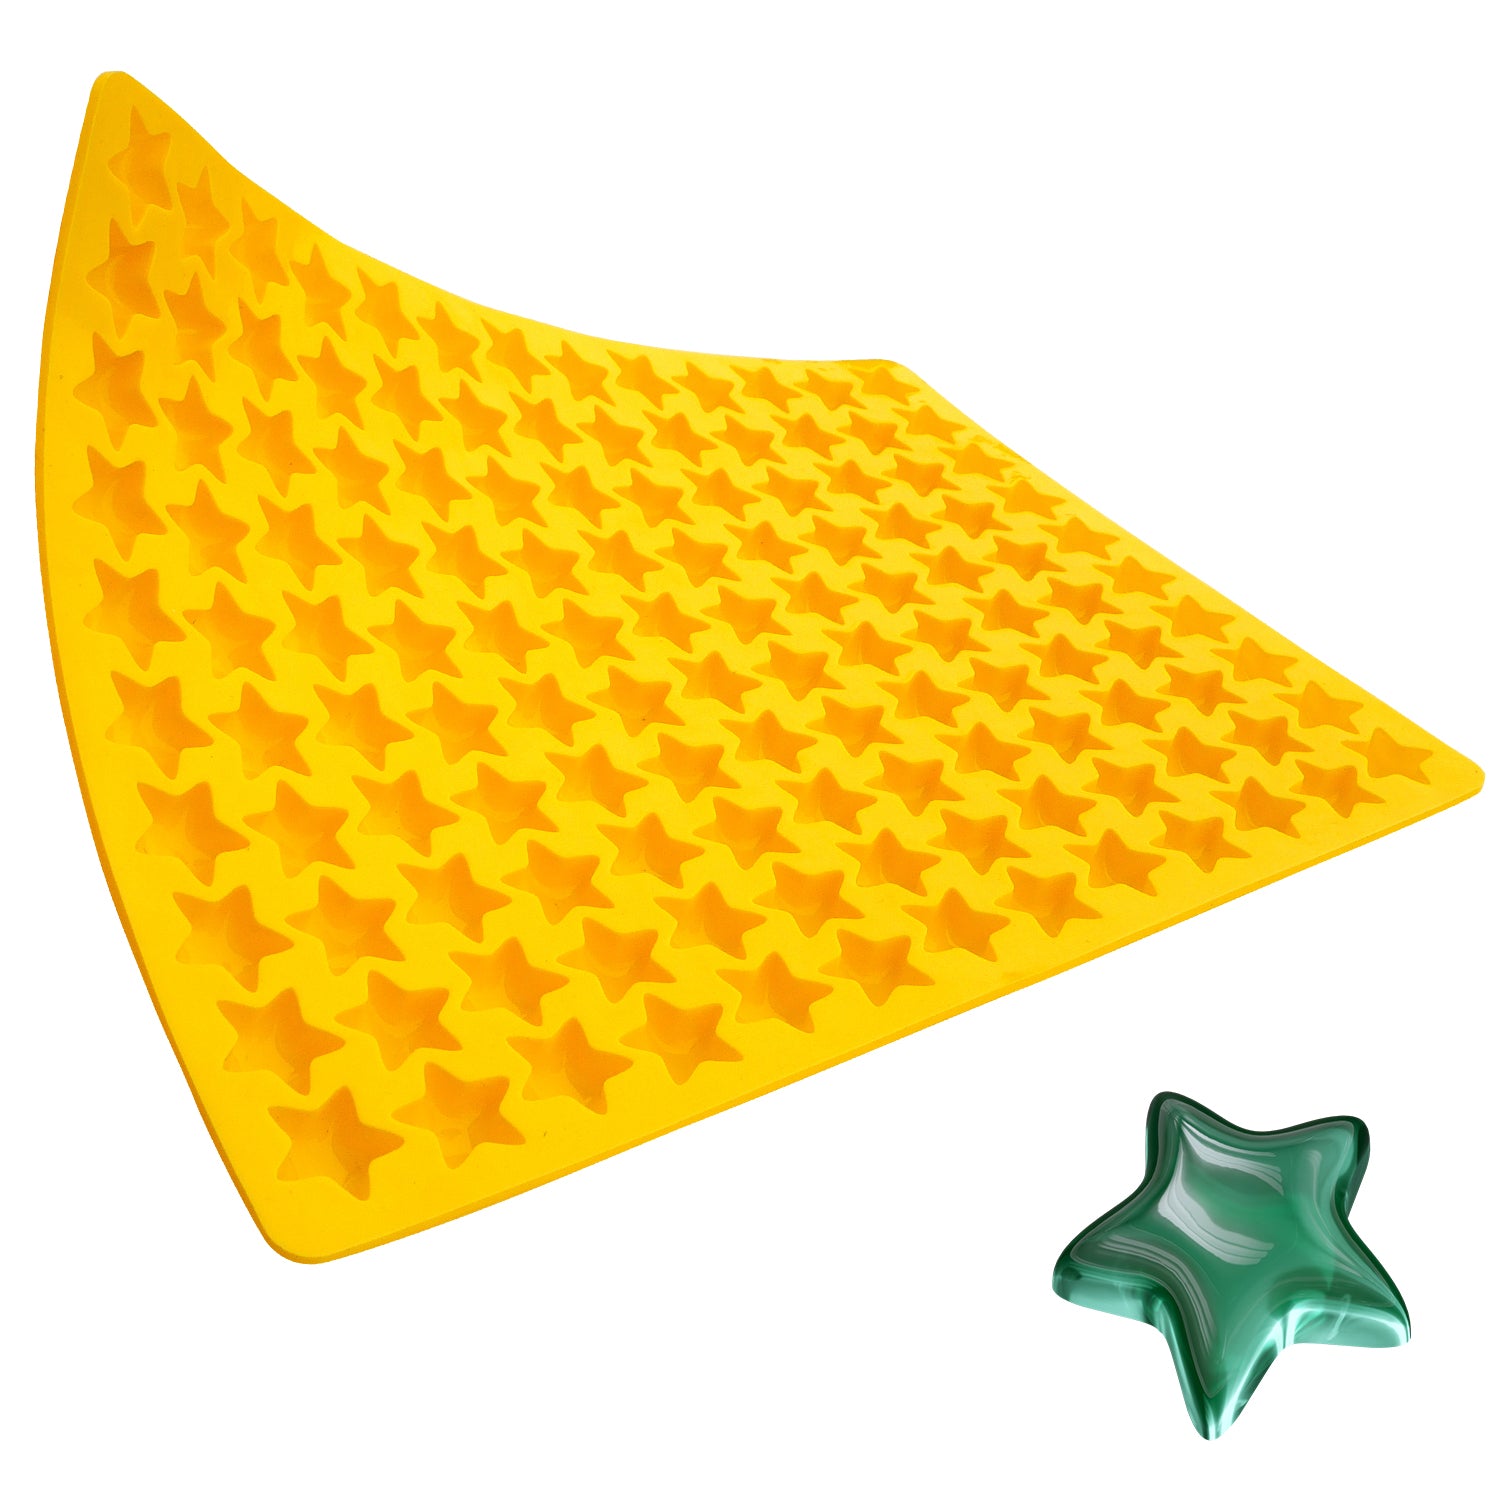 Candy Star Molds Buy Now
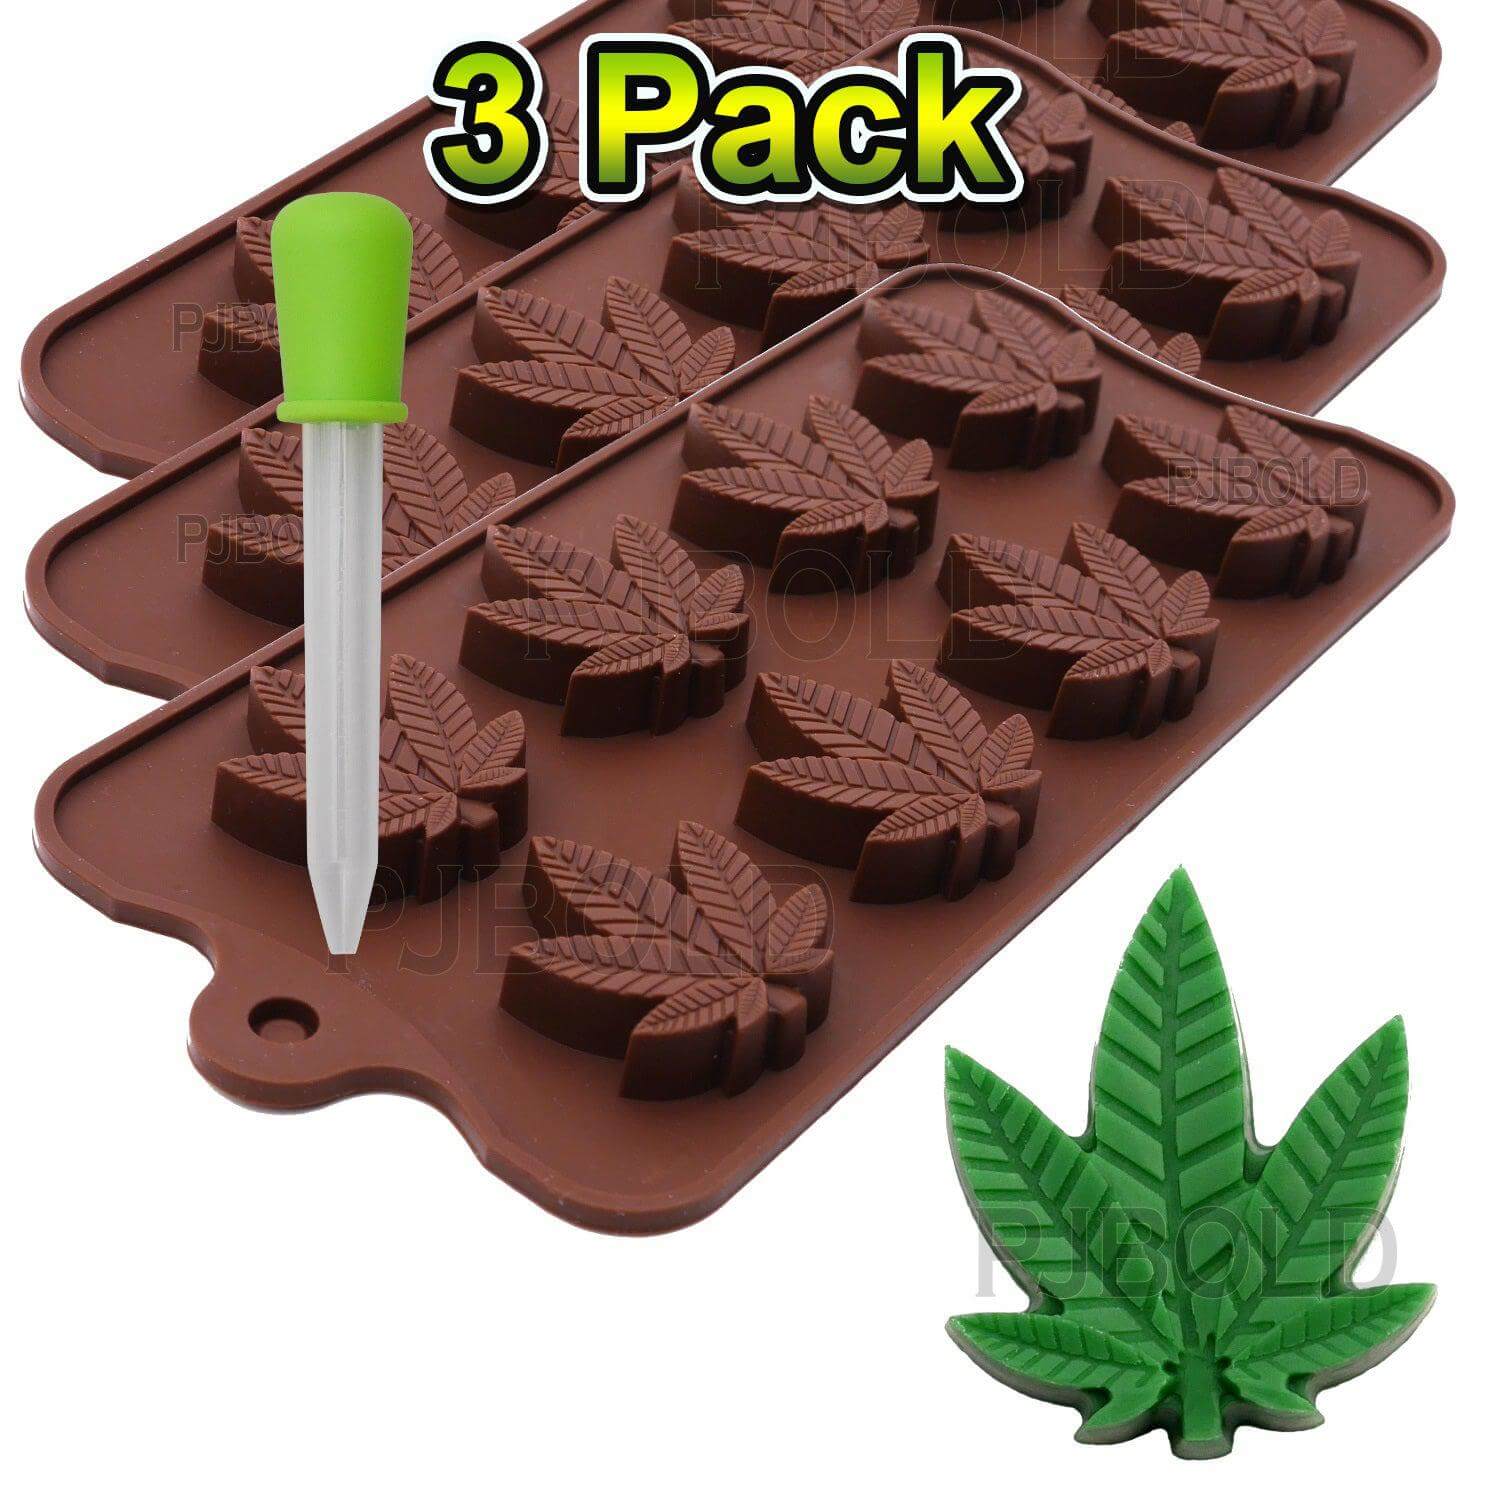 Hemp Leaf 3 Pack Silicone Molds Buy Now
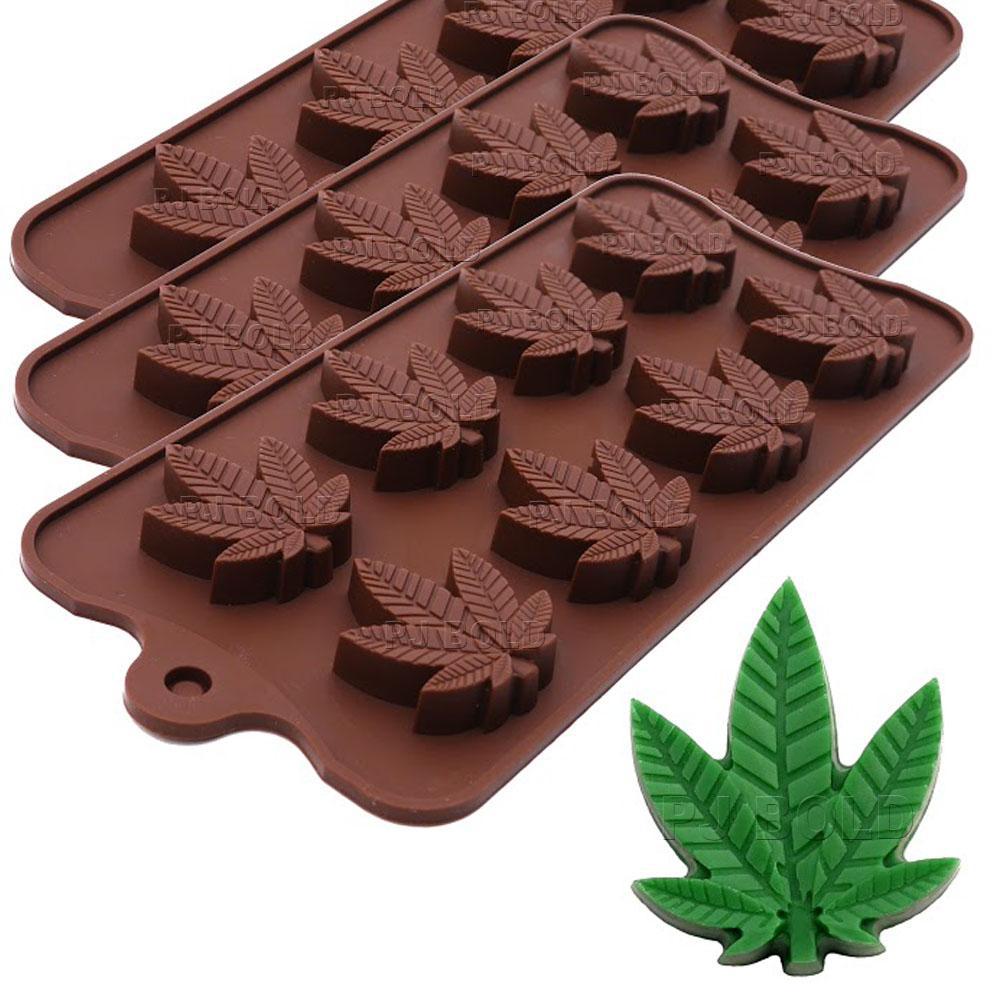
 Leaf Candy Bar Mold Buy Now
 Marijuana Cannabis Hemp Leaf Silicone Molds Buy Now
 Square Silicone Candy Mold Buy Now
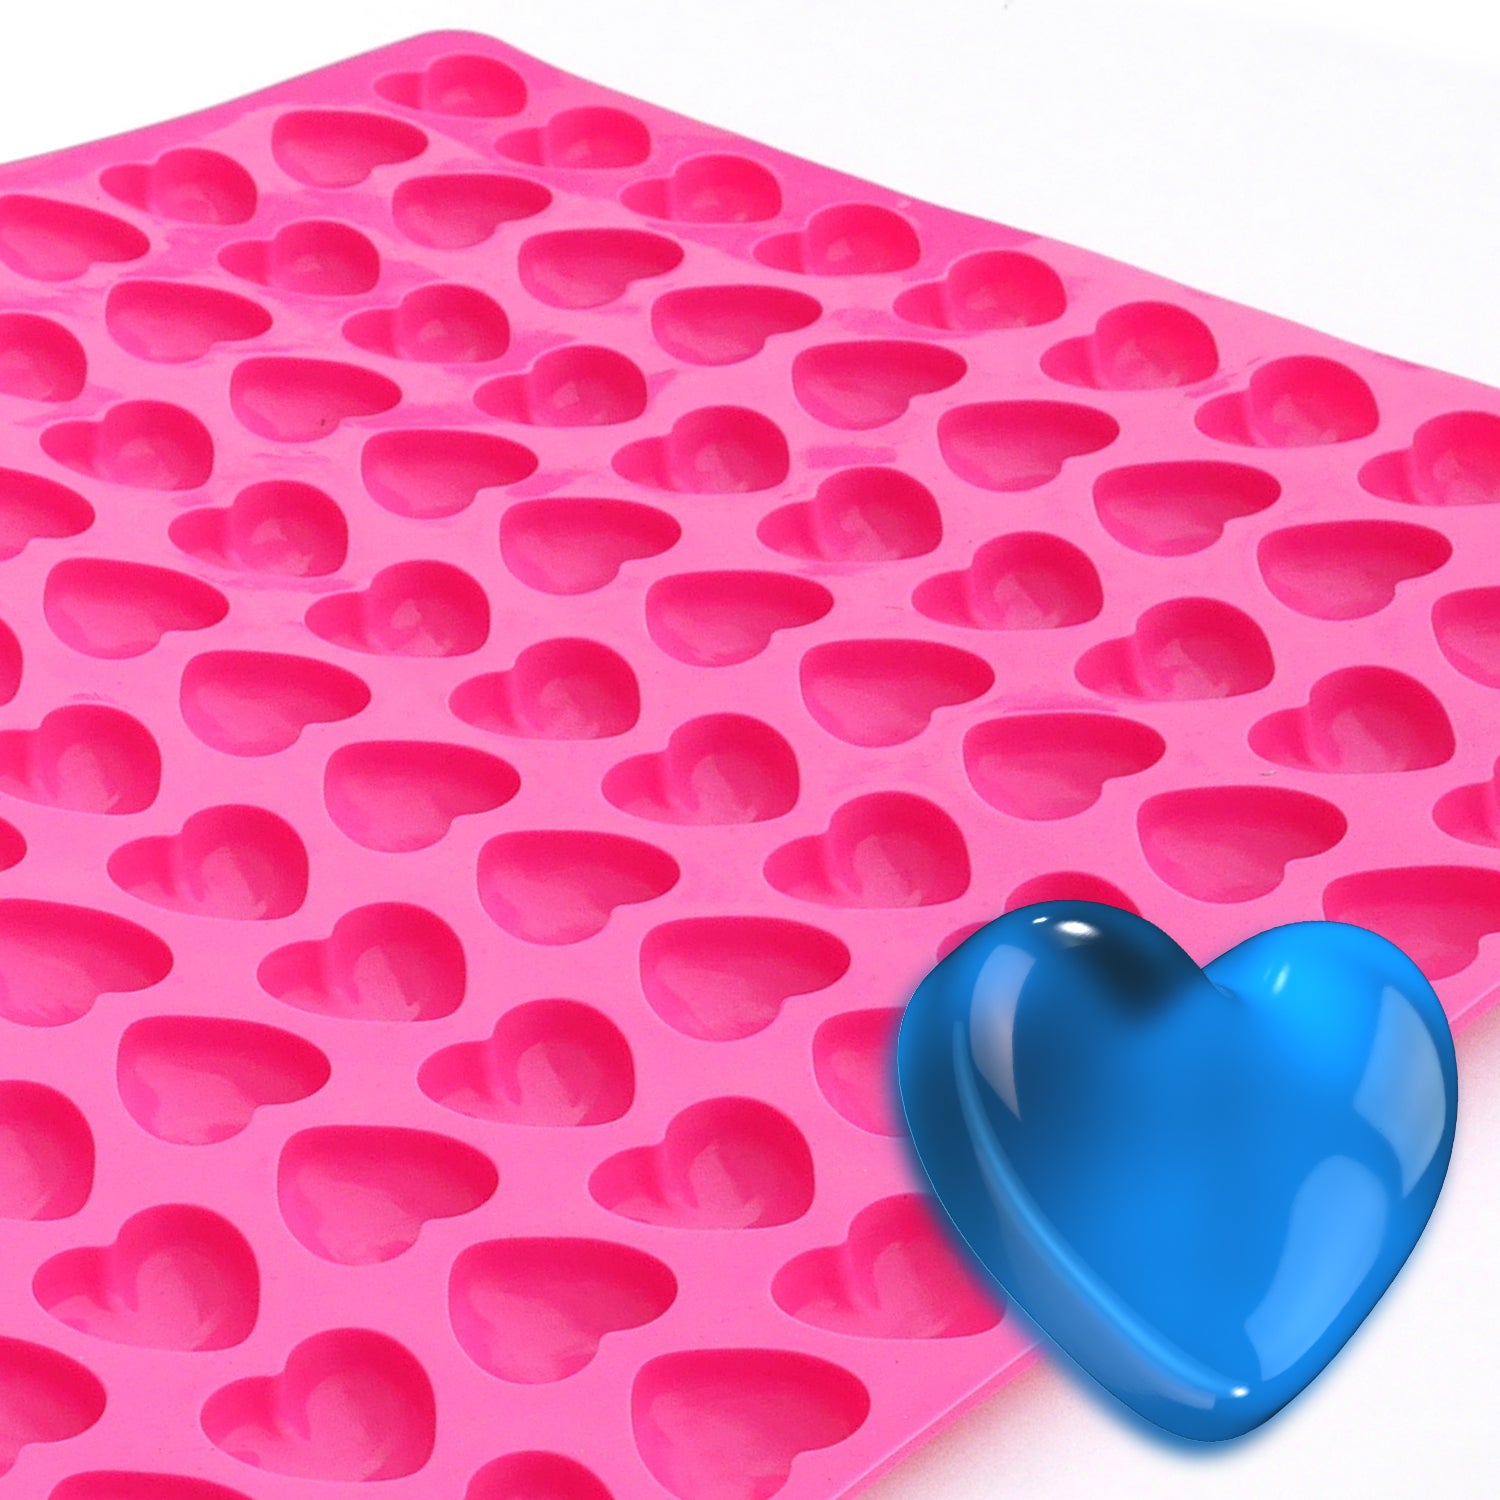 Heart Chocolate Mold Candy Buy Now
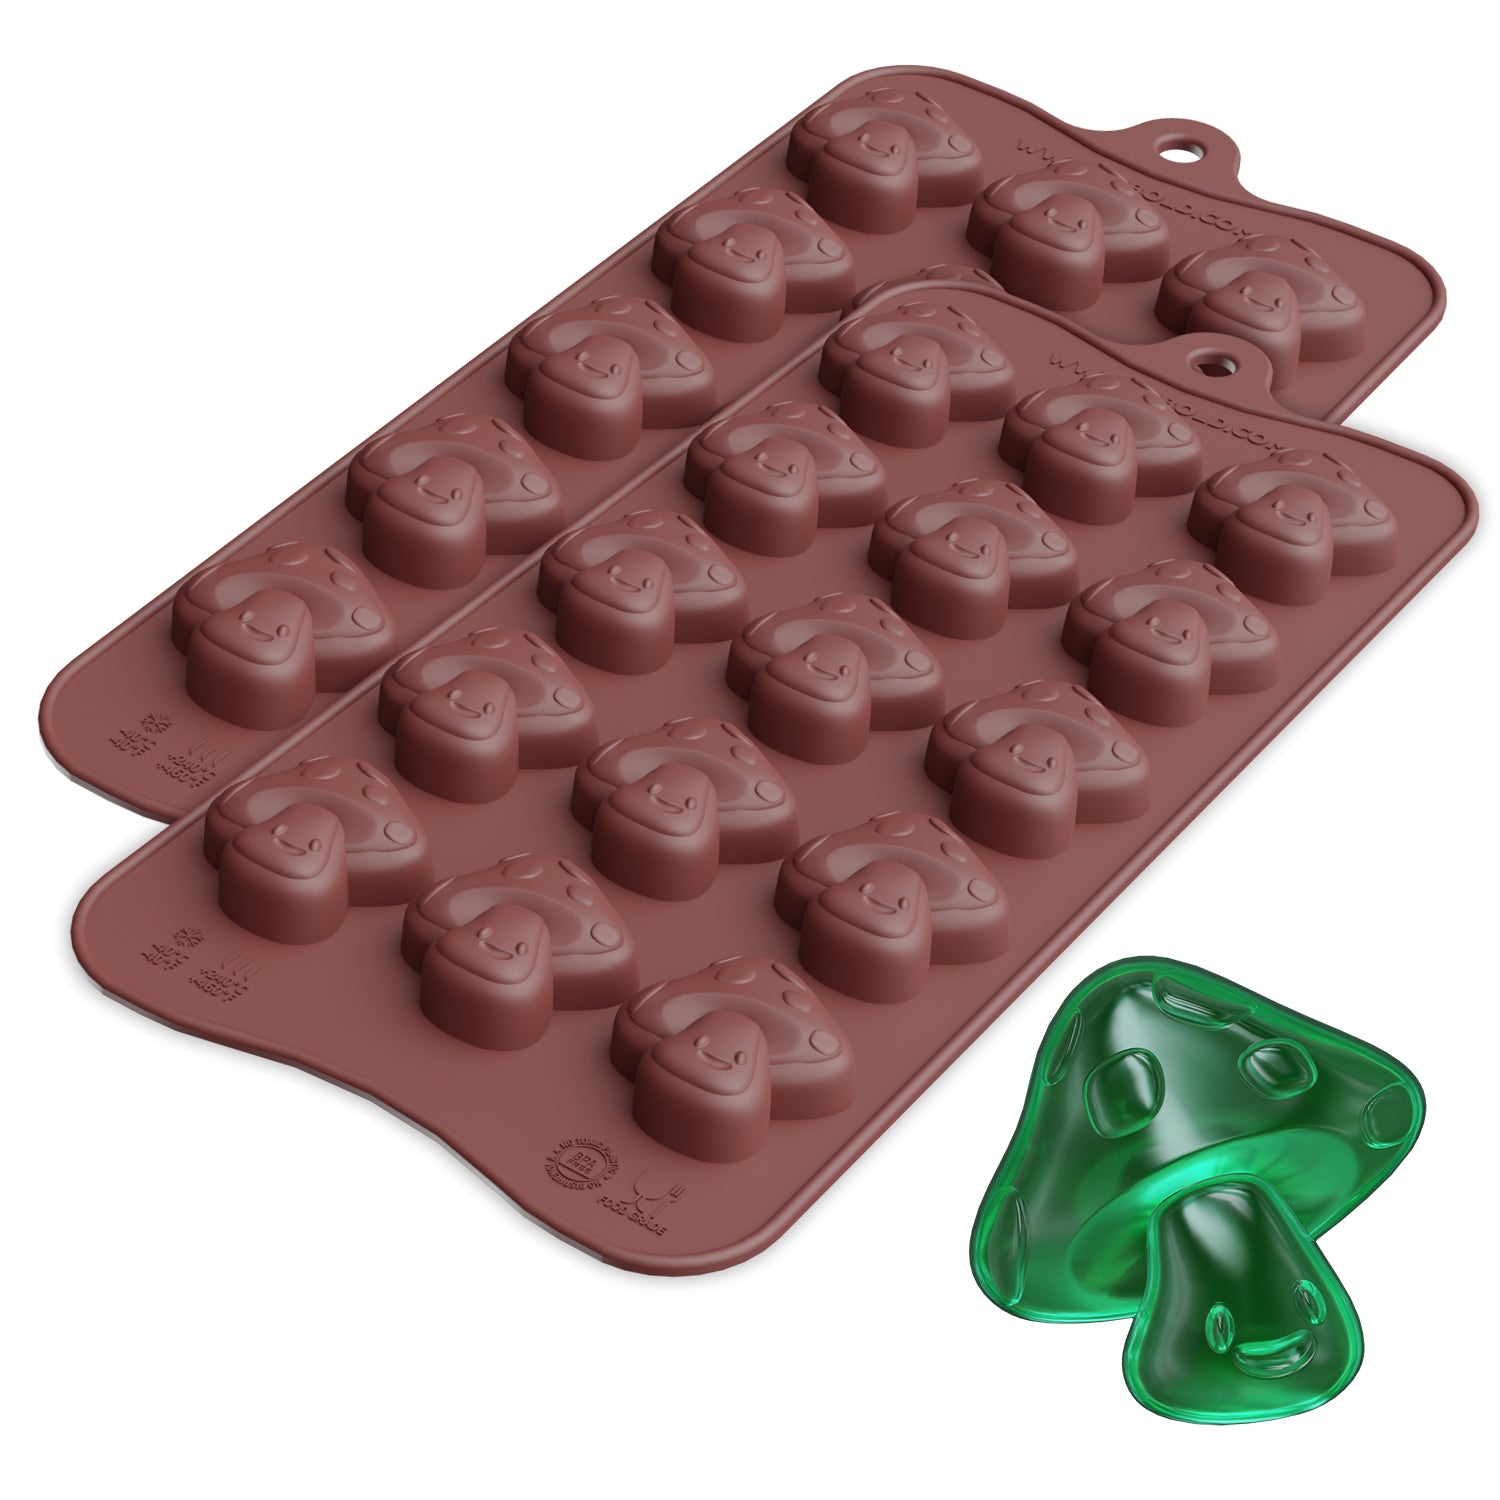 Mushroom Chocolate Silicone Candy Mold Buy Now
Why Do My Candies or Chocolates Stick to the Mold?
Your candies or chocolates may be sticking to the mold due to improper mold preparation, incorrect temperatures, or a high-humidity environment. Apart from that, your candies stick to the mold because:
- The chocolate is not properly tempered. The cocoa butter will crystallize and stick to the bottom.
- The mold is not properly cleaned. The presence of oil, dust, or even fingerprints can cause the candy material to adhere to the mold.
- There are insufficient or sudden changes in temperature. This may cause a shock in the chocolate, and they may not properly stick to the mold.
Can We Use the Same Mold for Gummies and Chocolates?
Yes, you can use the same mold for gummies and chocolates. However, there are some mild differences that you need to consider:
- Temperature: The Gummy mixture must be poured when it is hot. However, the chocolate mixture should be poured when it is at a low temperature and relatively cool to the touch.
- Preparation: Add oil or spray to molds before the process to ensure smooth cleaning for gummies. But for chocolates, don’t grease or spray at all. Just cleaning with water is enough.
- Demolding: Gummies are hard and can be demolded by twisting the molds. However, chocolates are soft. To remove them safely, you need to temper the choco material and then cool it. They will come out naturally.
- Sticking issues: Gummies stick due to humid conditions. However, chocolates stick due to dirty mold or improperly tempered cocoa butter.
How Long Do Silicone Molds Last?
A properly handled silicone mold can last for years. Some silicone molds can even serve you for up to 20 years, thanks to the use of high-quality siliconeas as base material.
However, the longevity of the mold depends on various factors, such as:
- Quality of silicone: A high-quality silicone mold is more durable. Plus, it is more resistant to temperature, heat, and wear.
- Casting materials: If you use hard casting such as resin or candle wax, it can be harsh on the mold, leading to a quick depletion of the silicon molds.
- Storage conditions: If the mold is placed in direct sunlight, it can cause degradation. Similarly, putting your molds under heavy objects can also hurt the life span of the mold.
What are Some Pro Tips to Use Candy and Chocolate Molds?
Here are some pro tips to use candy and chocolate molds to get the best confectiories every time:
- Prep with care: Always start with a completely clean and dry mold. Always perform a cleaning on the mold after each batch to remove any leftover residue, oil, or even fingerprints. To clean polycarbonate molds, buffing the inside of each cavity with a cotton ball or soft cloth helps create a mirror-like shine on your chocolate.
- Remove air bubbles: After filling the mold with liquid, gently but firmly tap it on a flat surface multiple times. This process will remove the air bubble. This way, you can have a smooth candy with no holes or pits.
- Avoid overfilling: Overfilling cavities gives a messy or uneven look to your candies. Fill each cavity to just below the rim. For DIY candy recipes, heat the mixture at 300-330°F (149-166°C) to remove bubbles.
Pro tip: If using real chocolate (rather than candy melts), master tempering. This process of heating and cooling chocolate to specific temperatures gives a glossy finish to the final product.

Troubleshooting Common Problems and How to Handle Them
If your candies or chocolates are sticking, appear dull, or have imperfections, the following troubleshooting guide can help you:
Cloudy, Dull, or Streaky Chocolate
An improper tempering mostly causes dull or streaky chocolate. If you don’t bloom the sugar, it can also lead to issues with the chocolates. To avoid this, always properly temper the materials. Plus, avoid the sudden change in temperature and gradually cool the chocolate.
Air Bubbles in the Finished Candy
Air bubbles in the finished desserts occur due to air trapped in the solution. Mostly, the root cause is the continuous stirring during the mixing or pouring phase.
The solution is to mix gently at a continuous speed. For best results, try to use an overhead stirring mixer. If you are using a spatula, mix gently to avoid whipping air into the solution.
Once you have filled the cavities, tap the mold slowly against the surface several times. This brings any trapped air bubbles to the surface to pop.
Quick tip: Sometimes, pre-heating the mold in a cool ecosystem can also prevent the chocolate from setting too quickly.
3. Incomplete or Broken Pieces
The root cause of broken candies or chocolates is insufficient cooling time. After heating the mixture, you have to cool it for a period to settle it. An improperly settled dessert not only traps air but can also lead to broken final pieces.
Apart from that, a shell that is too thin (for filled chocolates) or an overly viscous mixture can also cause broken chocolate candies.
The best solution is to pour the mixture evenly. Use a dropper to ensure the mixture gets into all the small crevices. For a viscous mixture, the shell should be thick to support the filling. Further, you can even adjust the formulation to remove the fat.
Interested in learning about how to mold candies with silicone molds? Read this quick guide on candy molding.
While tips from fellow candy makers often give the most practical insights, one Reddit discussion on working with chocolate molds highlights exactly that.
Working with chocolate molds
byu/jessiepumpkin inCandyMakers
What are the Best Silicone Candy & Chocolate Molds to Buy?
The best Silicon Molds have high-quality, food-grade silicone materials and are free from fillers. The best thing is that PJ Bold offers top-notch silicone molds.
Here are some of our proud offerings:
1. Silicone Break Away Candy Bar Mold
Silicone Break Away Candy Bar Mold comes in a rectangle shape and has 64 cavities. Each cavity volume is around 2.8 mL with dimensions of 100 x 150 x 3.5 mm, providing you with a big size candy. The best thing is that this mold is FDA-approved and has no BPA chemicals, giving you the ultimate perks of food-safe molds.

2. Candy Star Molds
Interested in impressing the children at your home? There is no better fit than the Candy Star Molds. It can yield 405 x 305 x 14 mm size star-shaped candies, which are perfect for children to enjoy the novel shape candies at home. Further, it has 130 cavities, meaning you can generate a large batch without going through the hassle of repetition. Not to mention the FDA approval and BPA-free guarantee.

3. Mushroom Chocolate Mold Silicone
Equipped with a unique mushroom shape, this mold comes with 6.2 x 3.1 x 0.4-inch dimensions. Having BPA-free approval means you don’t have to face the fear of chemical leaching. On top of that, mushroom chocolate mold silicone has a large temperature tolerance, from -40°F to 464°F. Hence, you can use it in an oven at a high temperature or in the freezer without any worry of melting or crystallization.


