


Sugar-free gummies are in demand in homes, and you can make such a tasty treat in just 30 minutes with this proven guide.
All you need are essential ingredients like gelatin + flavor juice, mix and heat them, and craft the best gummies at home using your favorite silicone mold.
Interested in learning about this recipe in detail? Read below where I have explained every step in detail. Plus, you will also learn about the common mistakes to avoid to get the perfect gummy. Stay with me to become a maestro of sugar-free gummies recipe craft.
Quick Steps to Make Homemade Sugar-Free Gummies:
- Take 1/4 cup of water and add 3 packages (0.25 ounce each) of gelatin to it. Let it sit for 5 minutes and then stir thoroughly.
- Add 3/4 cup of your preferred fruit juice and some artificial sweetener.
- Place the container in a saucepan with boiling water and stir it till a clear solution is made.
- Fill the food-grade molds with this solution with a dropper and let it set for 2 hours in the refrigerator.
Part 1: What Ingredients Do You Need for Sugar-Free Gummies?
You just need 4 ingredients for a homemade sugar-free gummies recipe. One of them is literally water. For sugar alternatives, you can use sugar alcohols, stevia, or sucralose.

Most of the other ingredients are optional and are required for the fineness of the recipe:
Sugar-Free Gummy Ingredients List
These are the best materials for sugar-free gummies recipe:
|
Ingredient |
Quantity |
Usage Purpose |
|
Cold water |
¼ cup |
It is used to dissolve the gelatin and other ingredients. |
|
Unflavored gelatin (See pectin vs. gelatin if you want a plant-based option) |
3 packages (0.25 ounce each) |
It's the gelling agent that solidifies the gummy bears. |
|
Natural Flavor juice |
¾ cup |
The juice provides flavor and color for the gummy bears. |
|
Pure Stevia powder |
½ teaspoons |
It's a sugar-free sweetener used to adjust the taste. |
Tools Required for Making Gummies
Keep the following tools under your arm before the process:
|
Tool Name |
Usage Purpose |
|
They are used to shape the gummy bears. |
|
|
Baking sheet |
These sheets hold the candy molds while filling and chilling them. |
|
Glass liquid measuring cup |
It's used to measure the water and to mix the ingredients before heating. |
|
Saucepan |
It's used to boil water and create a water bath for the gelatin mixture. |
|
Small syringe |
You will need them to fill the candy molds accurately. |
Part 2: How to Make Sugar-Free Gummies at Home? (Step by Step)
Let’s discuss the elephant in the room and see how to make sugar-free gummies at home:
Step 1: Bloom the Gelatin
Take a measuring cup and add ¼ cup of cold water to it. Add 0.75 ounce or 3 packages of gelatin to it and let it sit for 5 minutes before you stir thoroughly. This process is called gelatin blooming, and it hydrates the gelatin before adding it to the solution.

Pro Tip: The amount of gelatin used here will make chewy and dense gummies. You can reduce the gelatin to 2 packages or 0.5 ounce for softer gummies.
Step 2: Add Other Ingredients
Add the ¾ cup natural flavor juice and ½ teaspoon of pure stevia powder. Mix the whole solution with a spatula.
You can also try an equal mixture of xylitol and allulose for a different sugar-free taste.

Pro Tip: Start with a minimal amount if you are using Pure Stevia Powder. If it's a Stevia Blend, you can add more of it until it matches your taste.
Step 3: Heat the Gelatin Mix
Take a saucepan separately and fill about half of it with tap water. Place it on a cooktop and heat it till the water starts boiling. Now, place the measuring cup within this water and stir the solution until a clear syrupy consistency is made.
Step 4: Fill the Molds
Place the cleaned molds on a baking tray. Take a dropper and fill it with the hot solution from the measuring cup.
Pro tip: Always pour the mixture slowly to avoid the bubbles. These silicone candy molds tips help avoid bubbles and uneven fill.

Pro Tip: Fill the molds when the solution is still hot. Otherwise, you will have trouble setting the gummies properly.
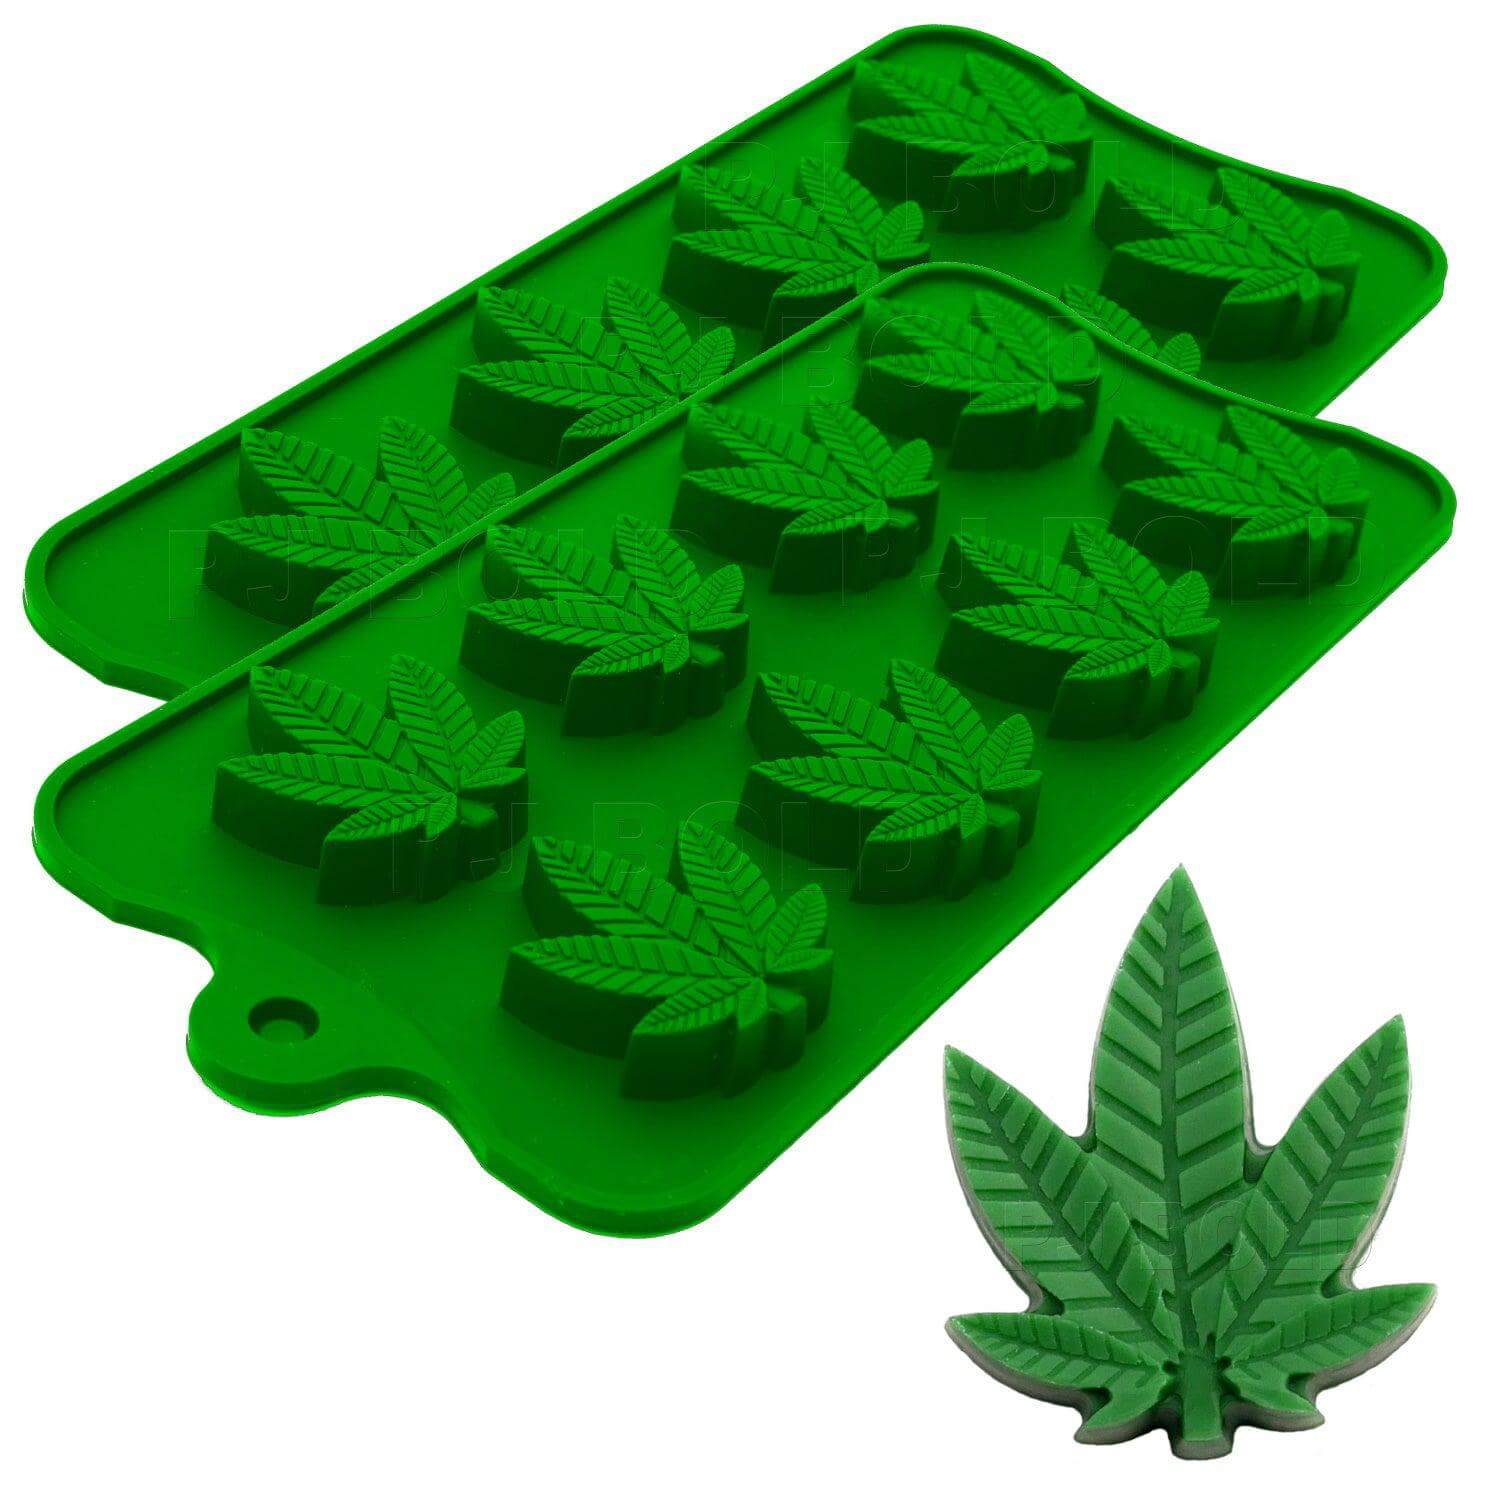 Hemp Leaf Green Silicone Molds Buy Now
 Bear Silicone Mold Buy Now
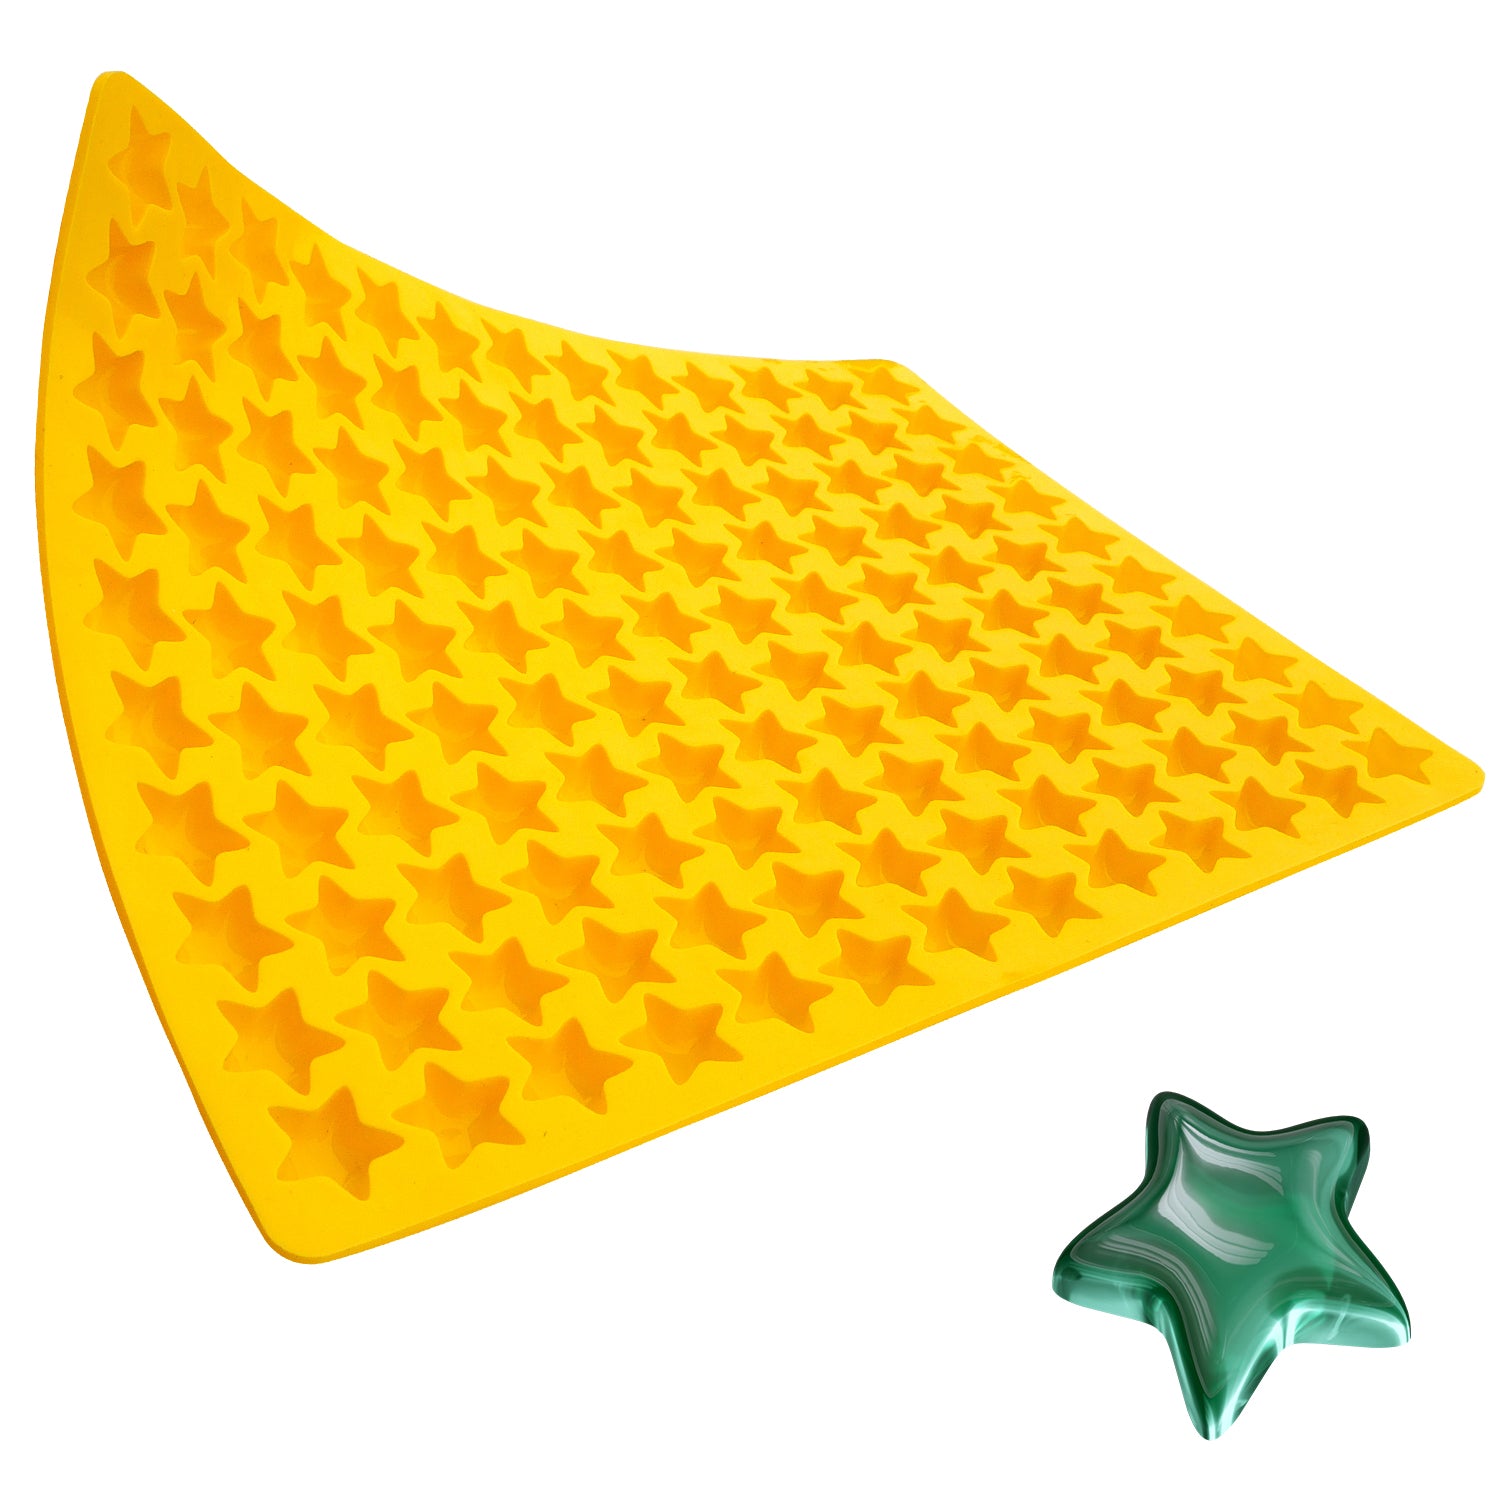 Candy Star Molds Buy Now
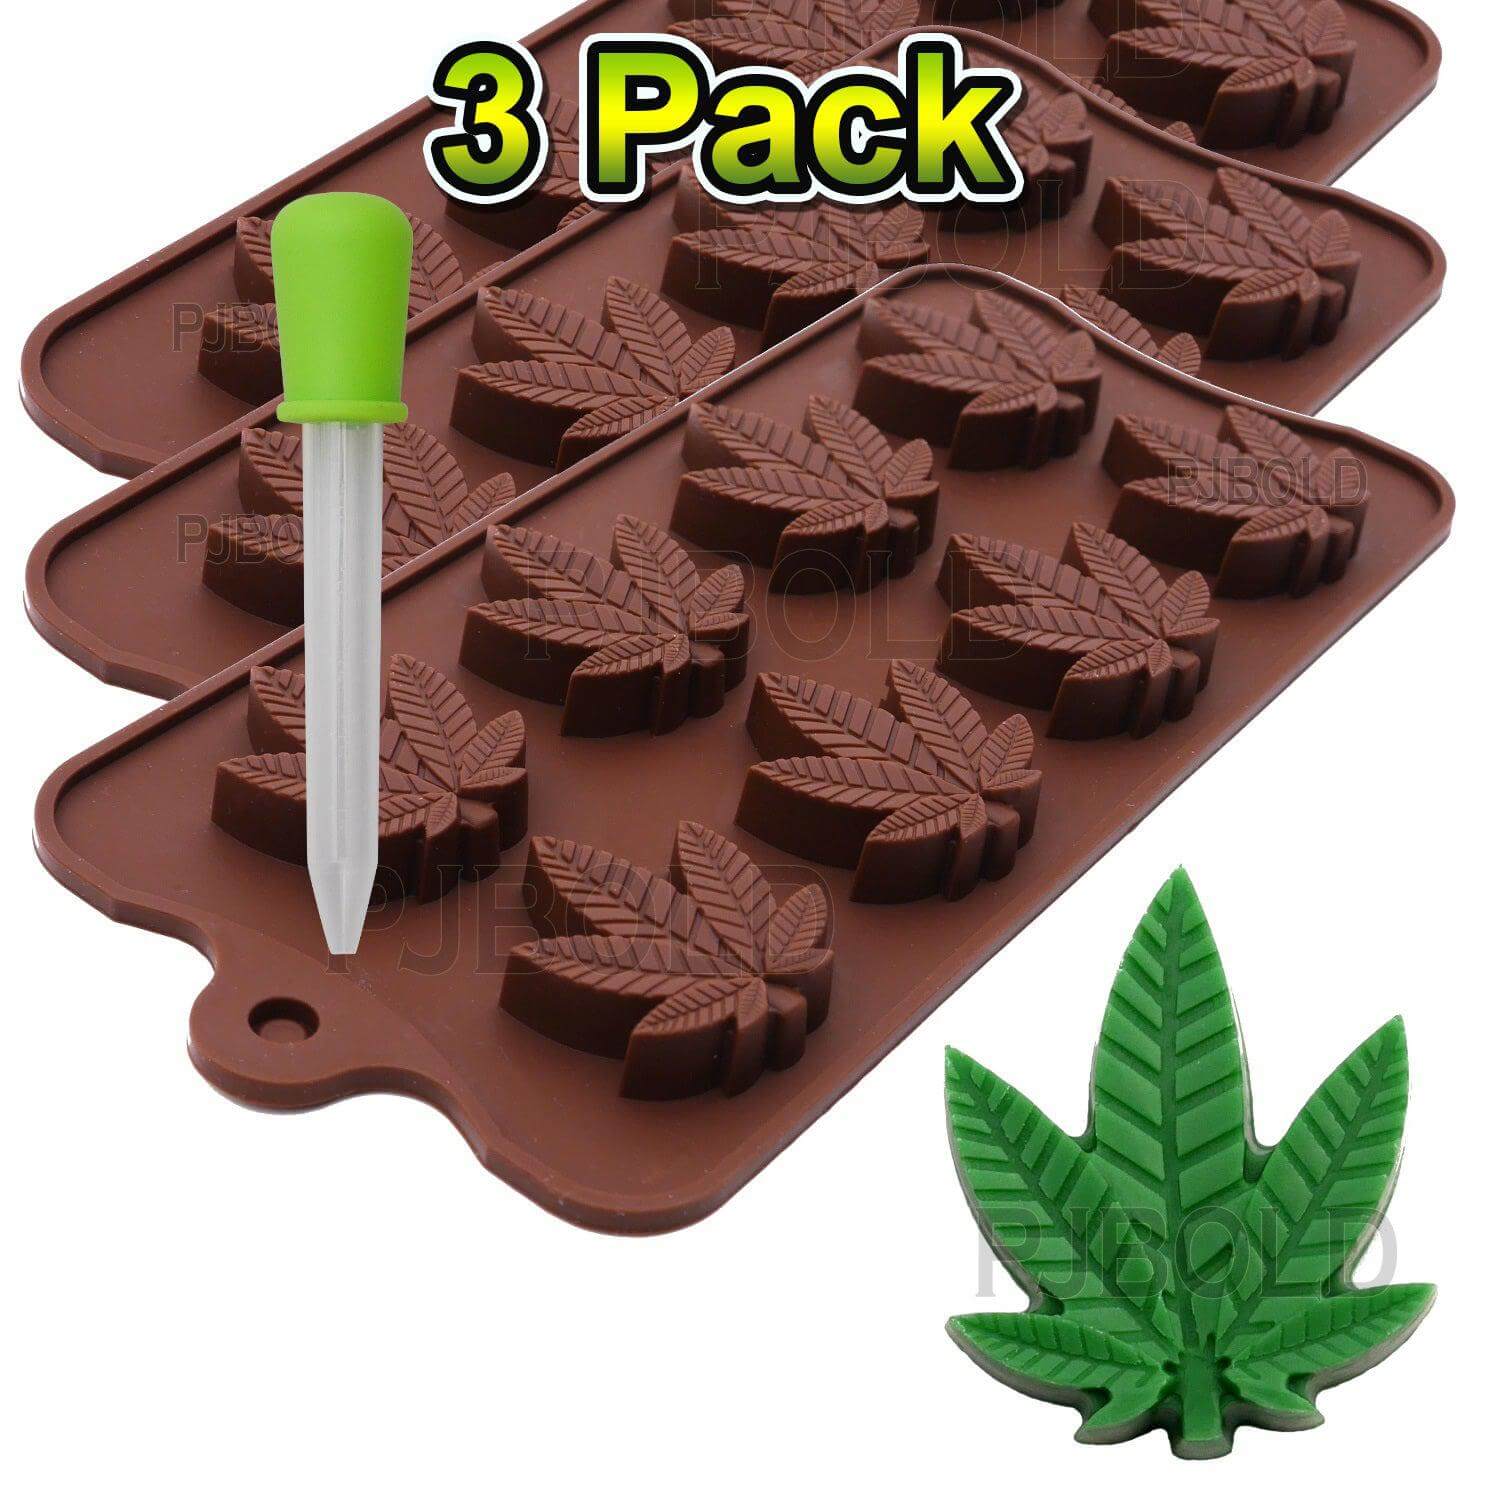 Hemp Leaf 3 Pack Silicone Molds Buy Now
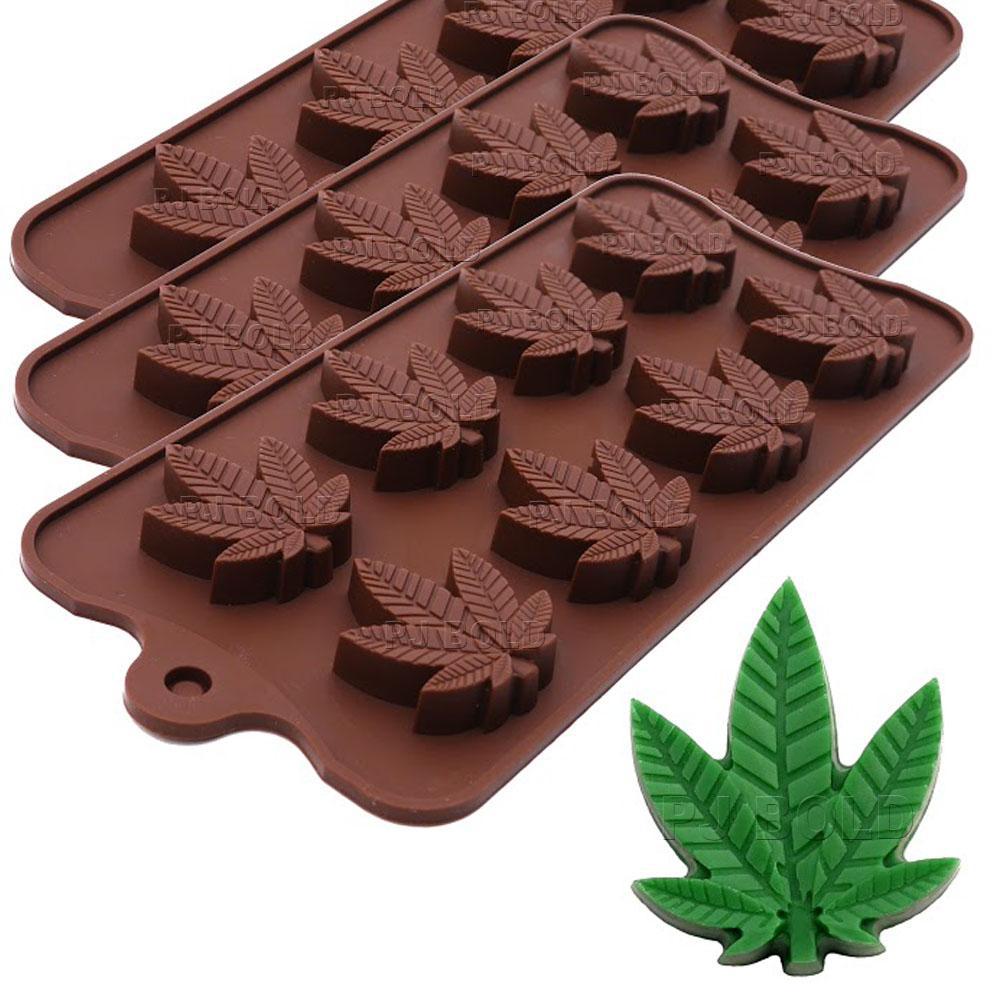
 Leaf Candy Bar Mold Buy Now
 Marijuana Cannabis Hemp Leaf Silicone Molds Buy Now
 Square Silicone Candy Mold Buy Now
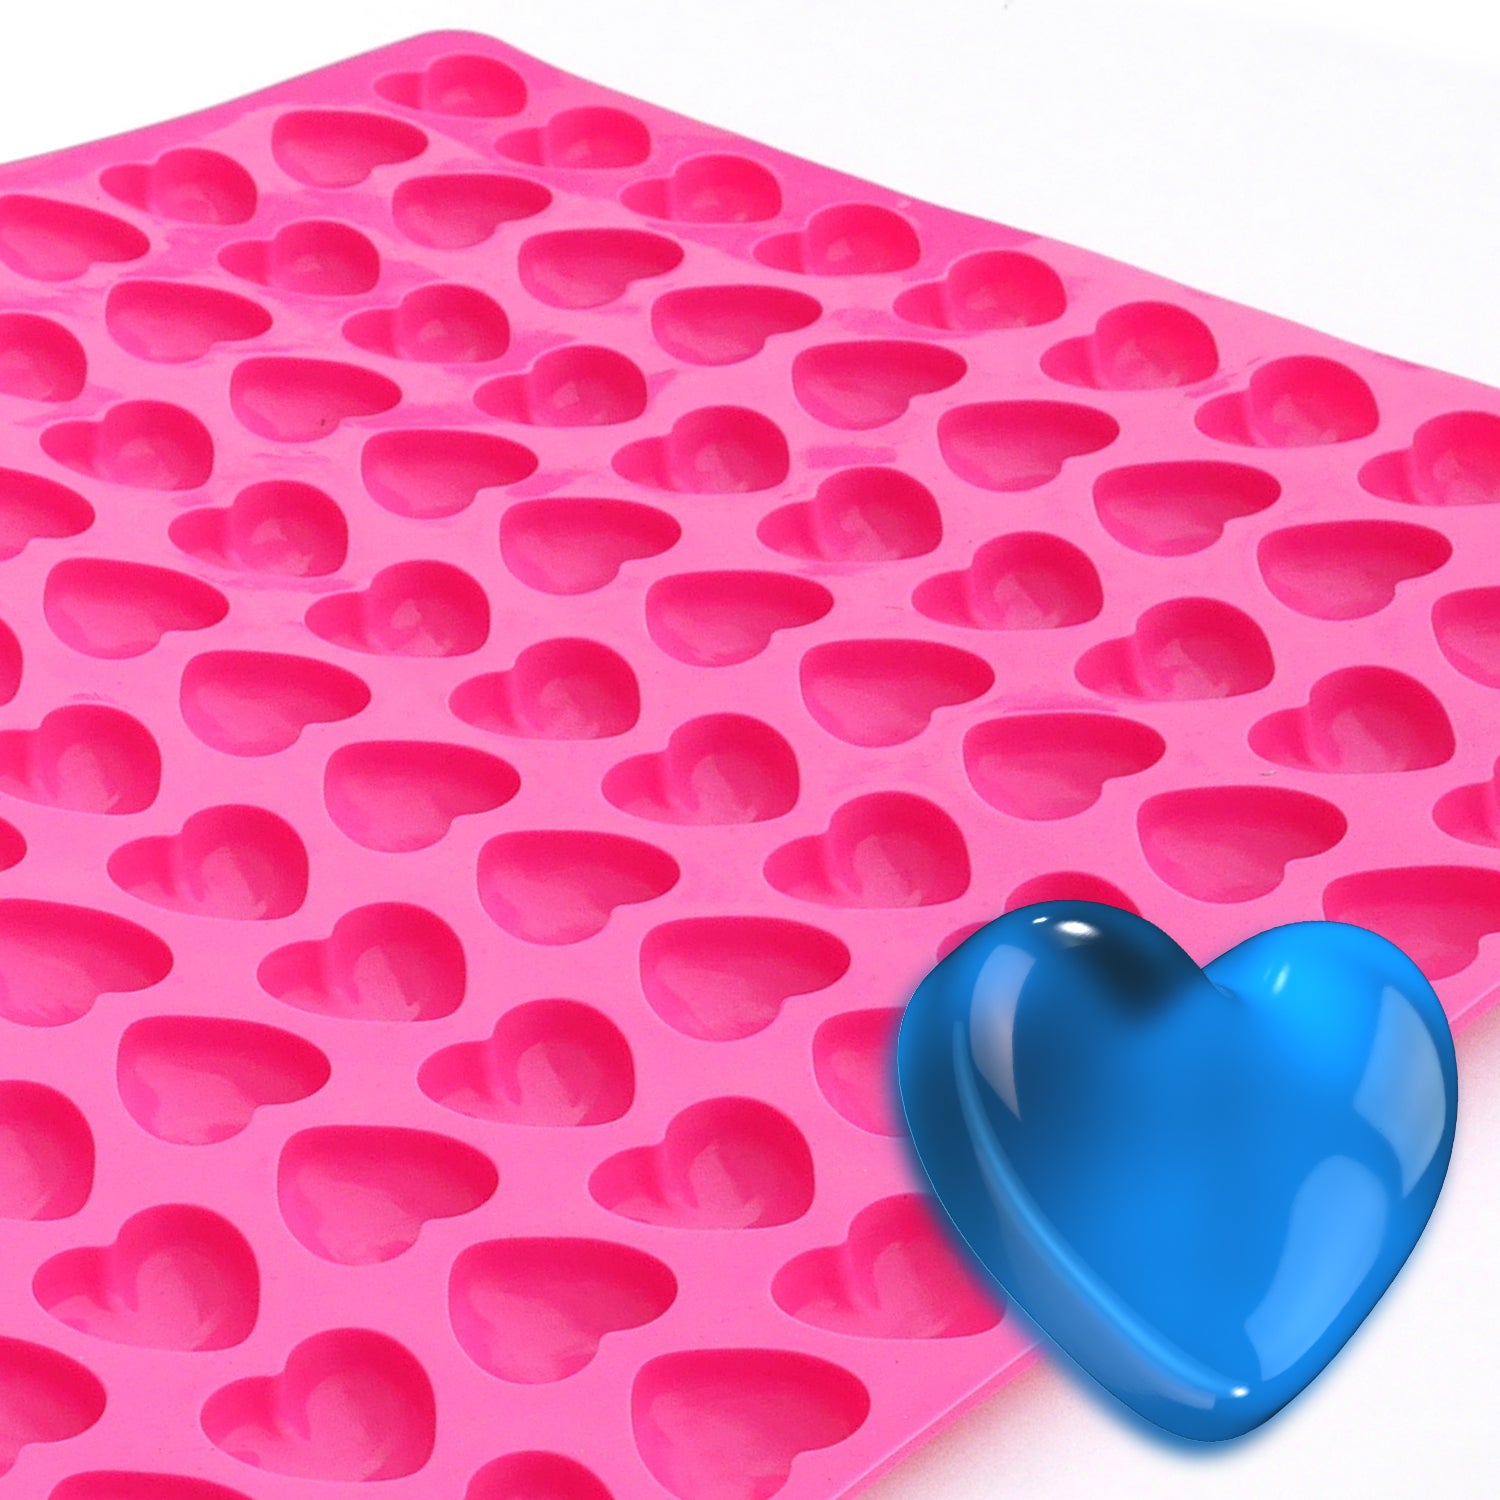 Heart Chocolate Mold Candy Buy Now
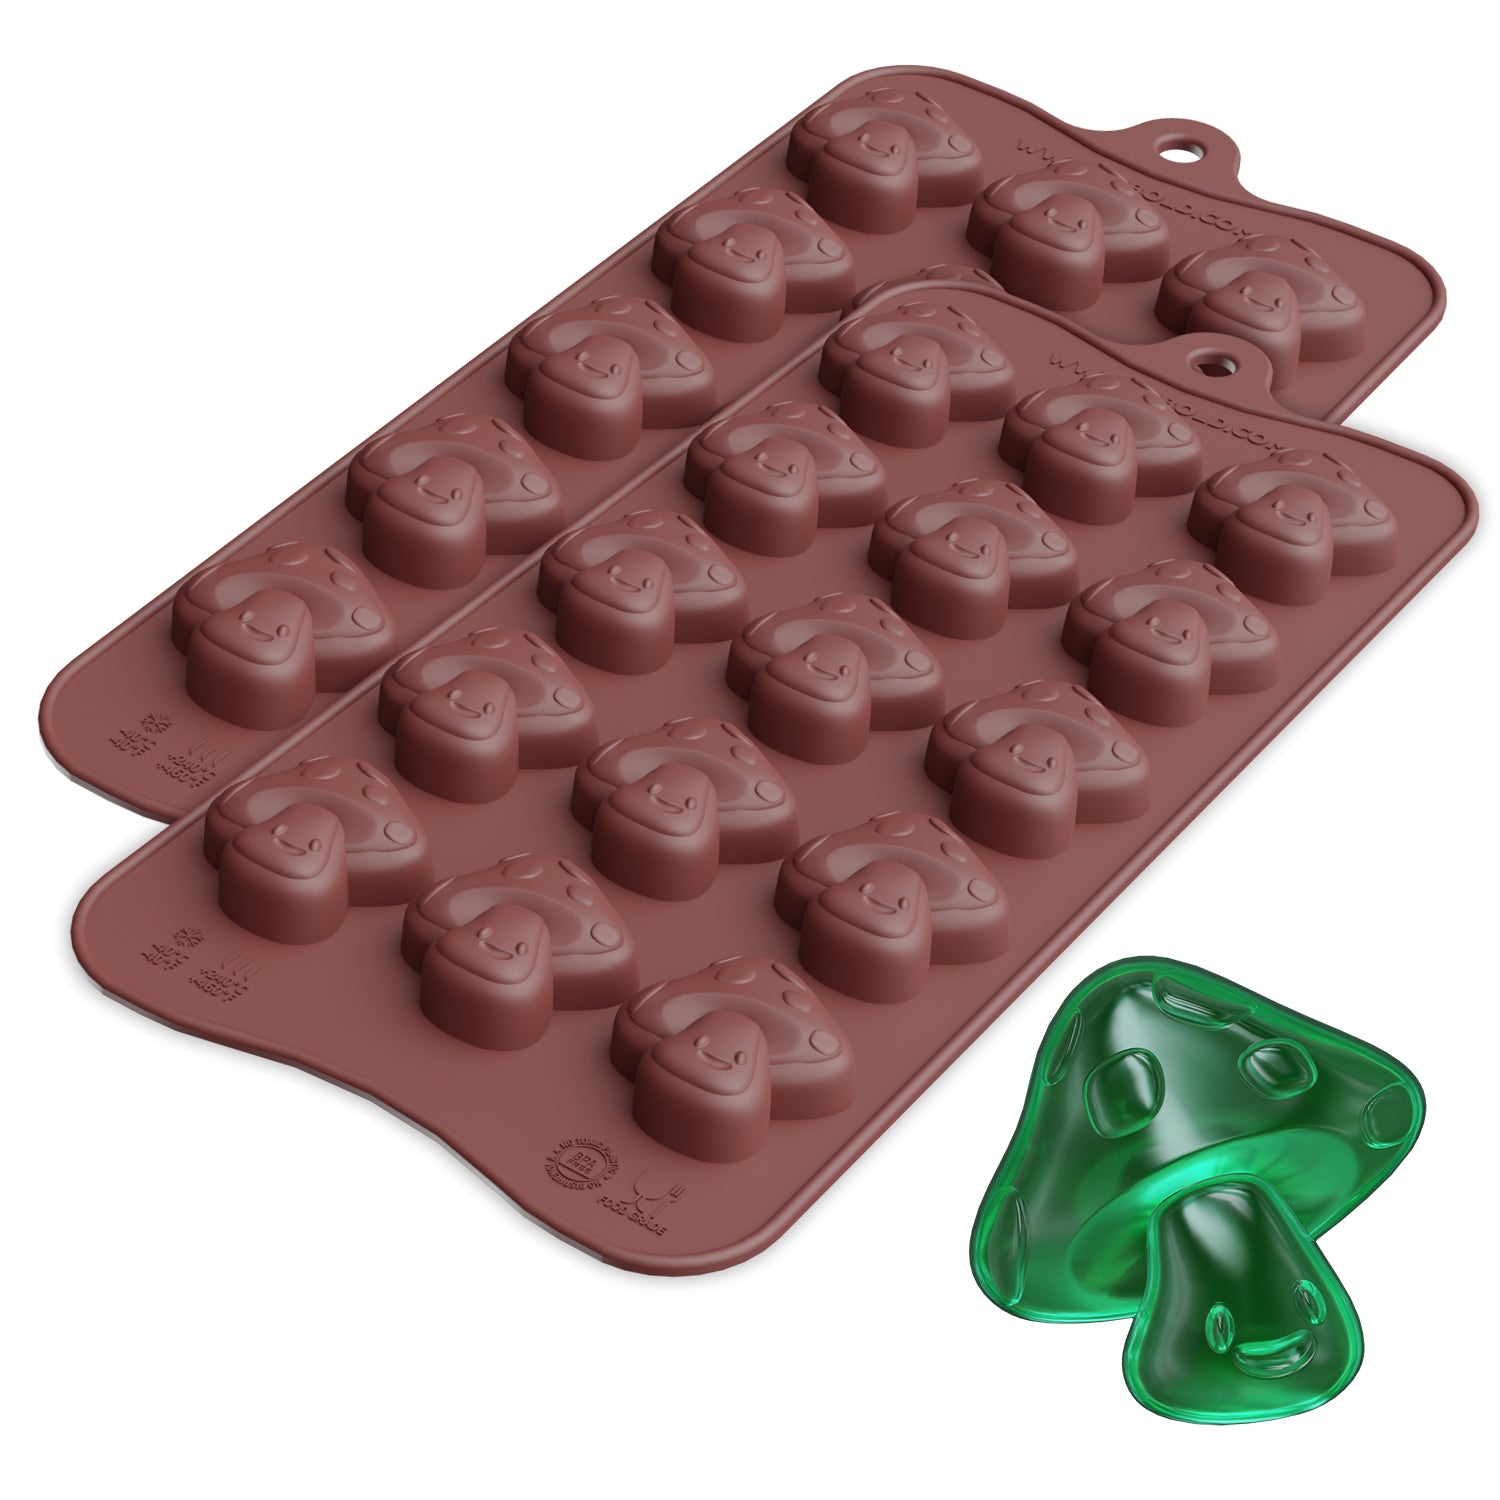 Mushroom Chocolate Silicone Candy Mold Buy Now
Step 5: Set & Chill
Place this baking tray in the refrigerator until it sets. It takes 10 minutes to 2 hours. Now, remove gummies from the molds and let them chill in the fridge for 1 day.
Don’t forget to clean your silicone molds after using to ensure that they are fresh for the next batch.
Part 3: Some Natural Color and Flavor Ideas for Sugar-Free Gummies
Some extra flavours will exponentially improve the taste of your sugar-free gummies. Let's show you some natural juice ideas and flavour extracts for your gummies.
Natural Juice Ideas
Use these natural sources to add extra flavour and color to your homemade sugar-free gummies.
|
Natural Source |
Flavor Profile |
Color Outcome |
|
Blueberry juice |
Sweet, tart, and fruity. |
Blue, purple, or magenta. It changes with pH. |
|
Raspberry juice |
Sweet and tart. |
Red to pink. |
|
Lemon juice + turmeric |
Zesty, citrusy, and a bit bitter with a slightly peppery undertone. |
Bright yellow to golden orange. |
|
Spinach extract |
Mildly grassy or earthy. |
Green. |
|
Beetroot juice |
Earthy and sweet. |
Red, pink, or magenta. |
|
Carrot juice |
Earthy and sweet, with a slightly bitter undertone. |
Orange or yellow-orange. |
Natural Flavor Extracts
Add a few drops of these extracts to increase the taste of your gummies:
|
Extract |
Effect |
|
Mint Extract. |
Fresh & cooling effect. |
|
Vanilla extract. |
Creamy undertones. |
|
Orange or lemon zest oil. |
A citrus burst. |
|
Cinnamon extract. |
Spicy candy-like flavor. |
Some Other Recipes that You Can Try
Apart from the above generic guide, you can try the given recipes for an added versatility:
Vegan Gummies:
Substitute agar or any other options (see pectin vs. gelatin if you want a plant-based option) for gelatin to make vegan gummies. You can follow the instructions on the agar box to use it properly.
Electrolyte Gummies:
Use a sugar-free electrolyte mix like a sports drink instead of natural fruit juice. It will make electrolyte gummies that are great for rehydration after exercise.
Apple Cider Gummies:
Change ¼ cup of water with the pure Apple Cider Vinegar. It gives a tart taste to the gummies and relieves feelings of nausea.
Creamy Gummies:
Change the water with cream or runny yogurt to make a creamy version of the Homemade Sugar-Free Gummies Recipe.
Microwave Gummies:
Heat the gelatin mix in a microwave instead of on the cooktop. It decreases the time and effort required for making homemade sugar-free gummies.
Pro tip: You can also use different mold shapes, such as bear or leaf molds, to bring versatility in your recipes.
Part 4: Mistakes to Avoid When Making Sugar-Free Gummies
If you want to get perfect results, make sure you don't boil the juice and use sufficient gelatin. Also, avoid ingredients that affect the setting of gelatin, and evenly distribute the sweetener.
1. Boiling the Juice
Gelatin is a protein. High temperatures can denature this protein. When this happens, the gelatin will not set properly and you will have mushy or even liquid gummies.
2. Using Ingredients that Break Gelatin
Never use fruits that contain Bromelain. It's an enzyme that can break down gelatin and affect the setting process. Fruits like mango, pineapple, and papaya are rich in this enzyme.
3. Not Using Gelatin Immediately
Gelatin starts setting as soon as it cools down. If you don't fill the molds when the solution is warm, the whole recipe will get disturbed.
4. Over-Sweetening
It can cause recrystallization, affect the taste, and make gummies that are extra soft. Sugar in traditional gummies significantly affects the structure and texture. Other sugar-free alternatives can't perfectly replicate these qualities. Sugar alcohols can make gummies extra soft and sticky. Excessive maltitol can cause digestive issues.
5. Using Molds without Droppers
Most gummies are made in delicate shapes. Pouring the solution without a dropper can cause overfilling of the molds and disrupt their shape.
For more insights on preventing gummies from sticking to molds, this Reddit thread offers practical advice from experienced keto gummy makers.
How to make Keto gummies that don't suck
byu/lveg inketorecipes
Part 5: How to Store Homemade Sugar-Free Gummies
You can store your homemade sugar-free gummies in a cool and dry place under 77°F using an airtight container. Use a refrigerator to extend their shelf life by 1-2 weeks. If you want to preserve them for a long time, freeze them in a suitable container.
Use Airtight Containers:
Airtight containers prevent exposure to oxygen and moisture. They also prevent the gummies from pests, dust, and other contaminants.
Oxidation can degrade the quality and taste of your gummies. On the other hand, gummies made from gelatin absorb moisture and become sticky.
Store in a Cool & Dry place:
High temperatures can make your gummies melt, and humidity causes them to become sticky. Excessive moisture can also promote mold growth on gummies. Mind that gummies can go bad if they are exposed to heat and are not stored properly.
Use the Refrigerator to Extend The Shelf Life:
You can maintain the texture and freshness of sugar-free gummies for 1-2 weeks when stored in the refrigerator. This process prevents the melting of gummies. However, your gummies can harden slightly in the fridge.
Freeze for Long-term Preservation:
Freezing gummies can preserve them for months. Use an airtight container to prevent freezer burn.
Pro Tip: Do not eat your gummies if they have a bad smell, unusual texture, stale taste, or any sign of mold growth on them.
Conclusion
The best Homemade Sugar-Free Gummies Recipe just needs 3 main ingredients. After hydrating the gelatin, mix it with natural fruit juice and an artificial sweetener. Heat the solution to make a clear solution and set it in molds while the solution is still hot. You can create different varieties of sugar-free gummies, like electrolyte gummies or creamy gummies, by slightly changing the recipe.
Just don't boil the juice containing gelatin and use artificial sweeteners in reasonable amounts. Also, use airtight containers to store gummies in a cool & dry place. You can store them in a refrigerator or freezer to increase their shelf life. Contact PJ Bold to get the best candy molds in the market.
Frequently Asked Questions
Is Eating Sugar-Free Gummies Healthy for Humans?
Yes, eating sugar-free gummies is healthy for humans if you use them to satisfy your cravings. They are low in calories and can be made in different flavors.
However, excessive consumption of these gummies can cause some health issues. The artificial sweeteners and sugar alcohols in them can cause bloating, diarrhea, or other digestive problems. They also won't have the nutritional benefits of natural sugar.
Which Ingredient Sweetens the Sugar-Free Gummies?
Sugar alcohols like erythritol, xylitol, or maltitol substitute for regular sugar to sweeten the sugar-free gummies. You can also use high-intensity sweeteners like stevia or sucralose. All these substances can sweeten the gummies. However, they have very few calories compared to regular sugar and have less impact on blood sugar levels.
How Do I Sugarcoat My Gummies?
To sugarcoat gummies, mist them with an edible adhesive like corn syrup. Then, toss the gummies in a mixture of granulated sugar and citric acid. When the gummies are evenly covered, dry them in a pan and slightly shake to remove extra sugar.
How to Make My Sugar-Free Gummies Shiny?
After making gummies, coat them with a layer of edible oil like coconut oil, sunflower oil, or a light vegetable oil. For an alternative, use Carnauba wax or sugar-free syrup for coating. It gives a beautiful shine to your gummies and removes their stickiness. You can gently massage these substances on your gummies or toss them in a container with the coating substance.
Can I Add Citric Acid to My Sugar-Free Gummies?
Yes, you can add citric acid to sugar-free gummies. Citric acid is an organic compound that gives a sour or tart taste to your gummies. It also inhibits bacterial growth and increases the shelf life of your gummy candies. However, too much of this citric acid can ruin the taste of your gummies.


