


A European study confirmed food grade silicone molds stay safe under high heat, making them reliable for holiday treats. Do you also want to get the best chocolate candy recipes using silicone molds? Congratulations! You are at the right place.
This guide will show you how easy it is to create candies that look impressive without special machines or advanced skills. You will also see which fillings give the best results and which recipes are simple enough for beginners.
Quick Guide for making Chocolate Candy Recipes Using Silicone Molds
Follow these simple steps to make chocolate candies at home using silicone molds:
- Choose chocolate: use couverture for a shiny finish or compound for easier handling.
- Prepare molds: Wash, dry, and place on a flat tray.
- Melt chocolate: Use a double boiler or microwave in short intervals, stirring until smooth.
- Temper chocolate: For couverture, cool to the right range (31–32 °C dark, 29–30 °C milk/white).
- Fill and set: Pour into molds, tap out air bubbles, chill until firm.
- Unmold: Gently flex the silicone to release glossy, finished candies.
Part 1. What Tools and Ingredients Do You Need?
Preparing perfect chocolate candy recipes at home involves a complete guide to chocolate molds and their types.

You need clean molds, high quality chocolate, and basic kitchen tools such as a spatula or thermometer to begin like a perfectionist.
Before heading towards the ingredients, let’s first explore the silicon molds that work best.
Best Silicone Molds for Chocolate Candy Making
As we discussed, the best silicone molds are flexible and non-stick, so let’s now explore different types with different qualities that users wish to have.
Silicone Chocolate Molds
One excellent choice is the silicone chocolate molds. These molds bend without tearing and can handle both freezing and gentle heating. This means your chocolates come out clean with a shiny finish.
Chocolate Bar Molds
Chocolate bar molds are the best option if one wants to create larger sized chocolate pieces. They have a deeper space that makes them perfect for plain bars or bars filled with nuts and fruits.
Truffle Molds
If you want small truffle chocolates, then the truffle molds are the best fit for you. They have round, even shapes that give a professional look to your candies or chocolates. A plus point is that its non stick surface ensures smooth edges without the need for greasing. Owing to these perks, you can easily make a truffle chocolate recipe at home in just 5 steps using these molds.
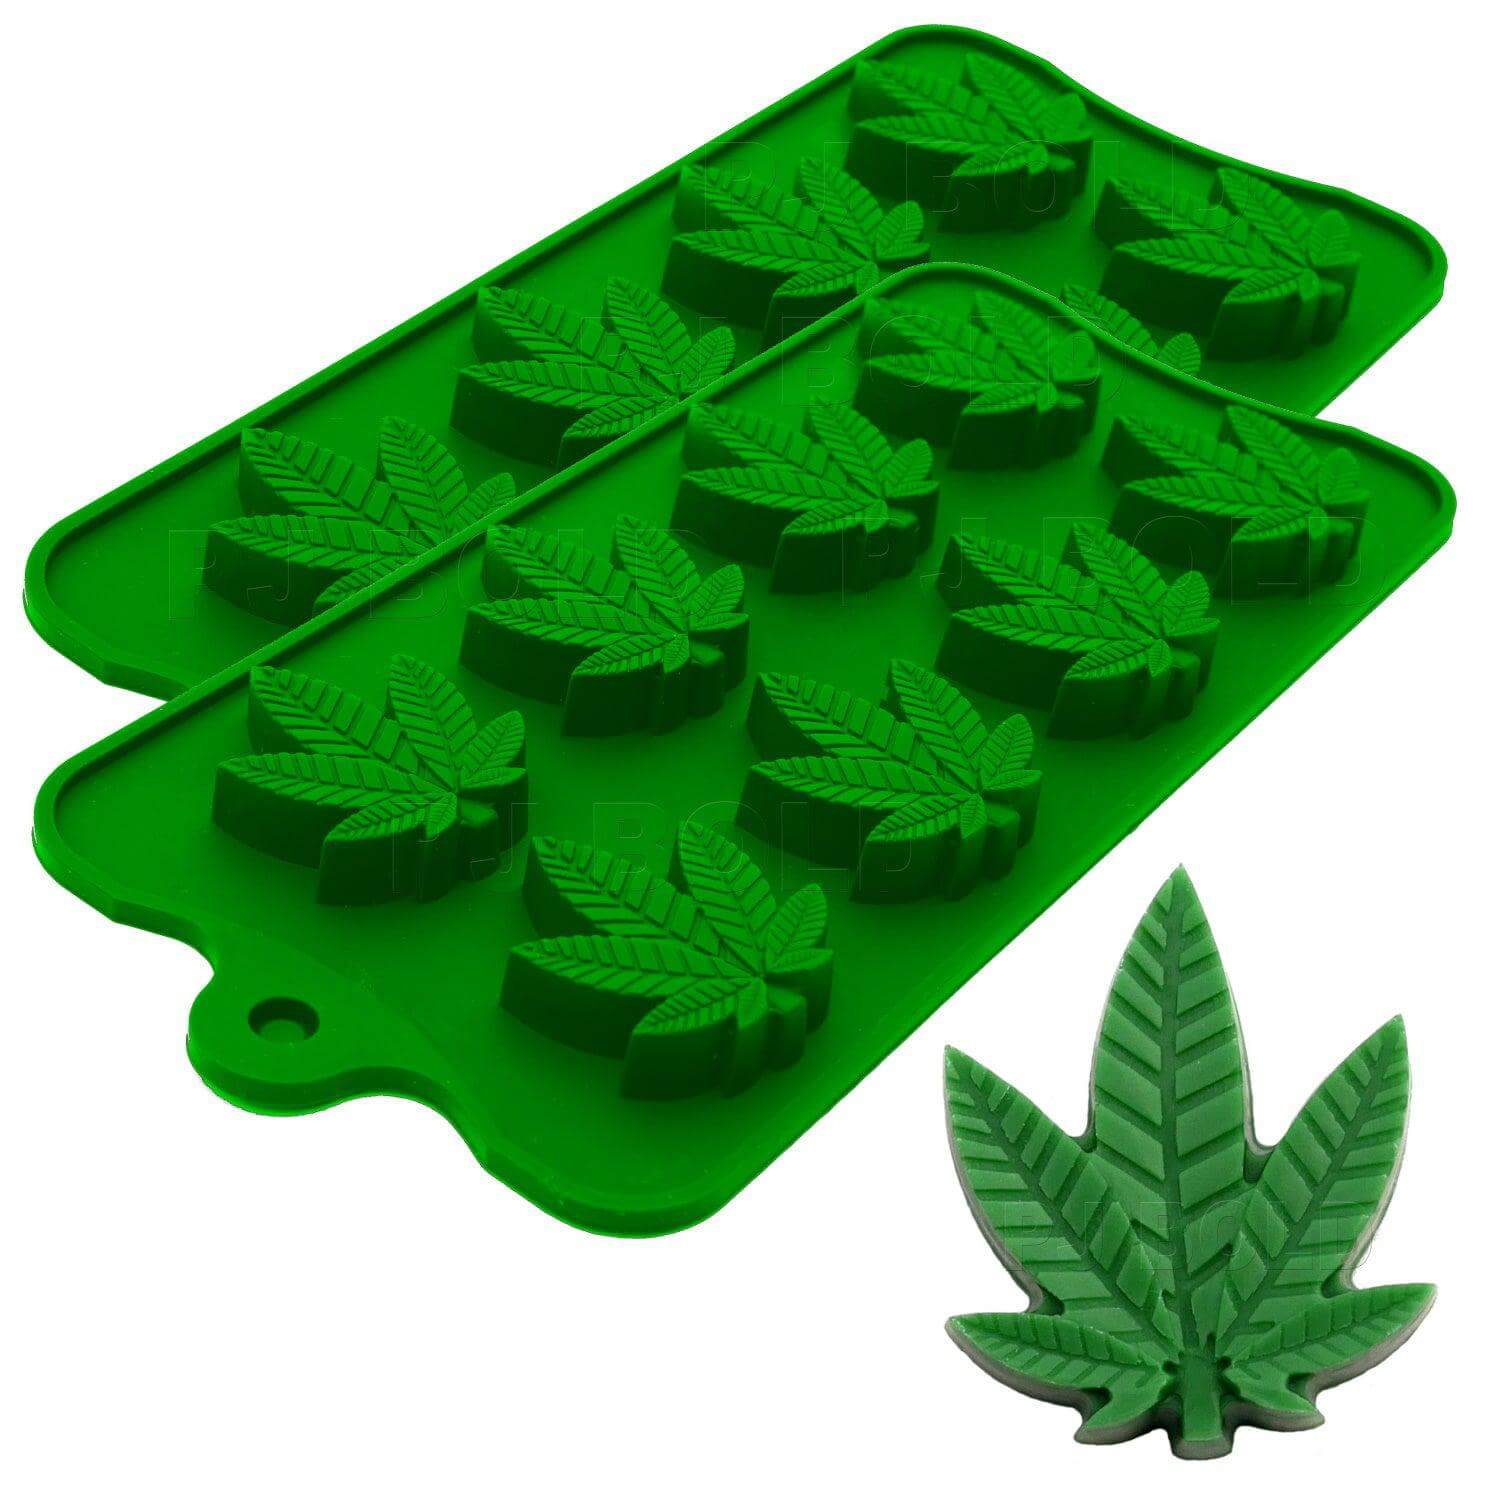 Hemp Leaf Green Silicone Molds Buy Now
 Bear Silicone Mold Buy Now
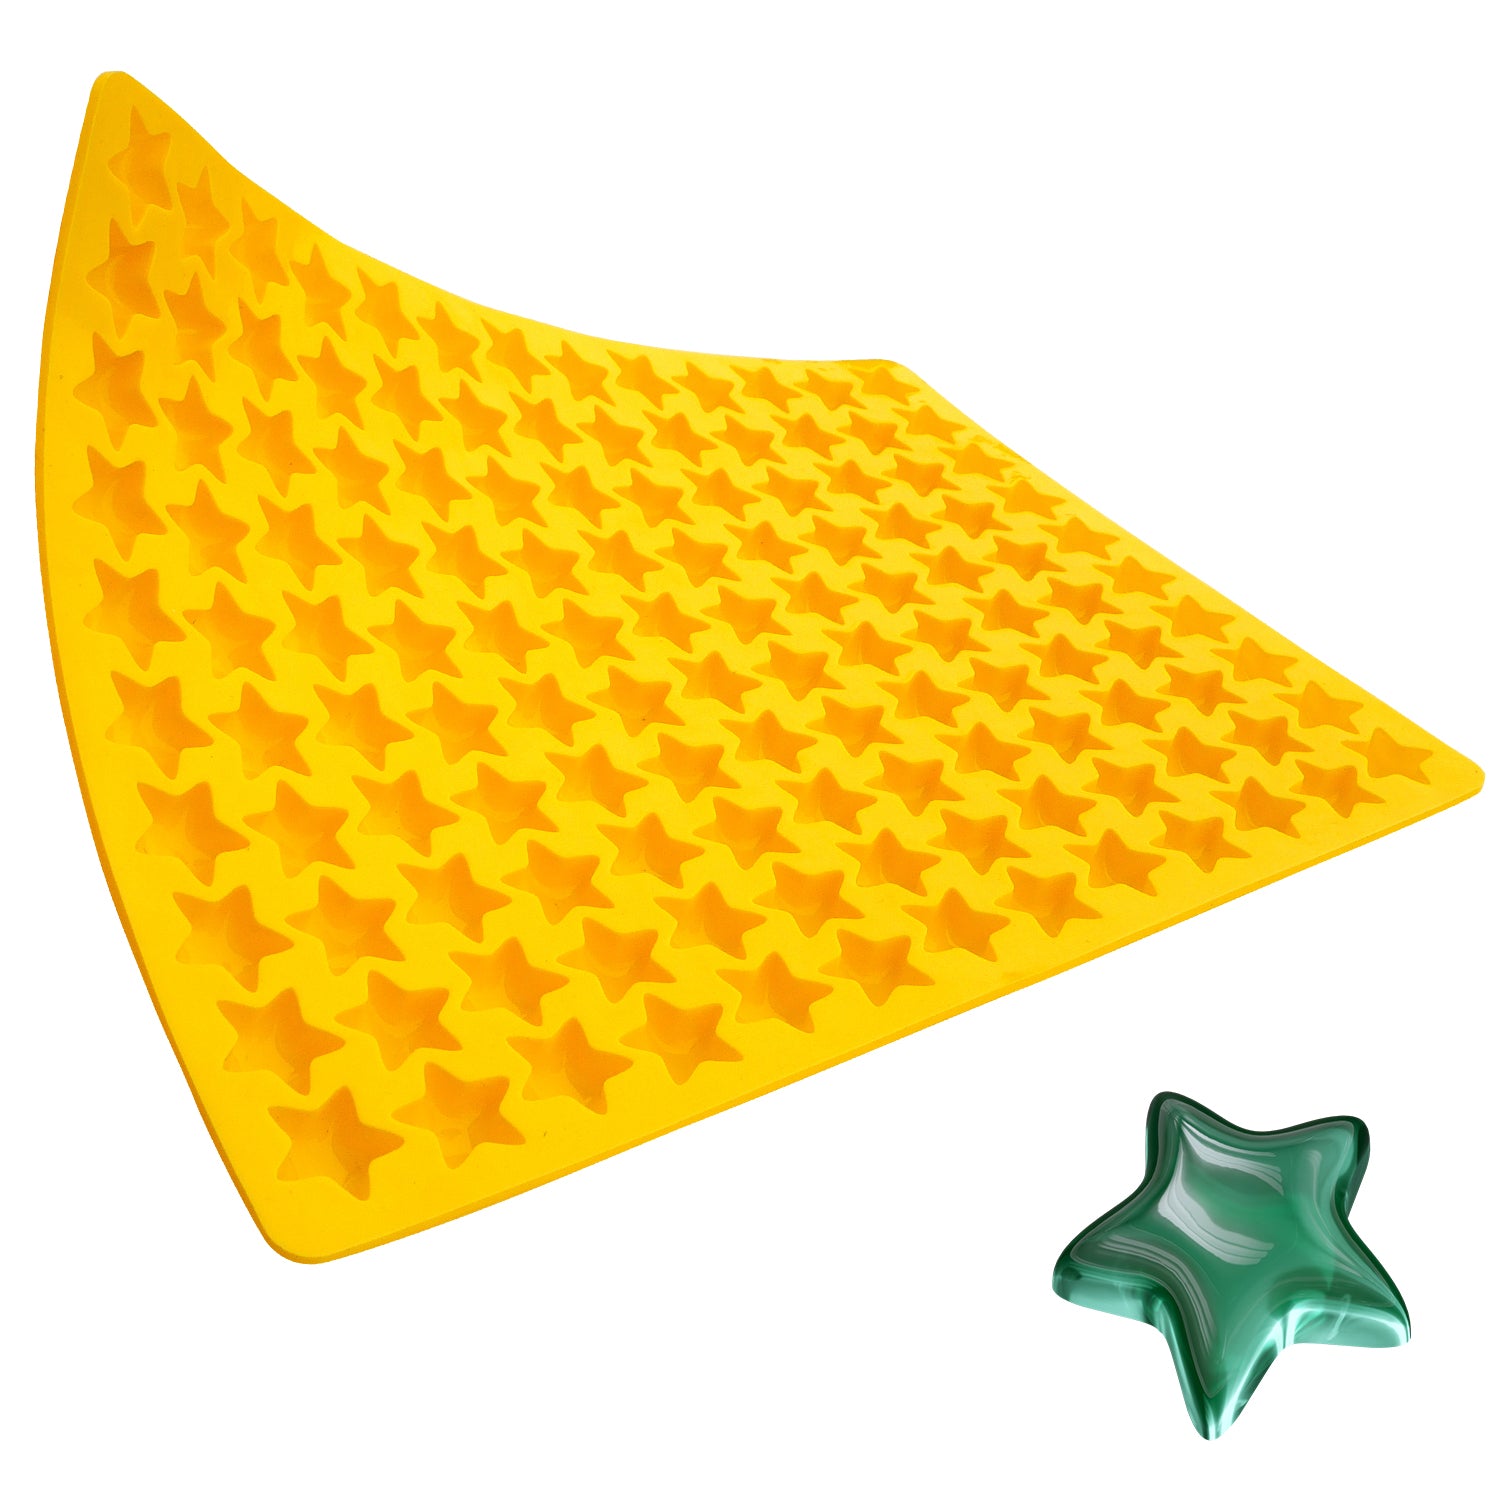 Candy Star Molds Buy Now
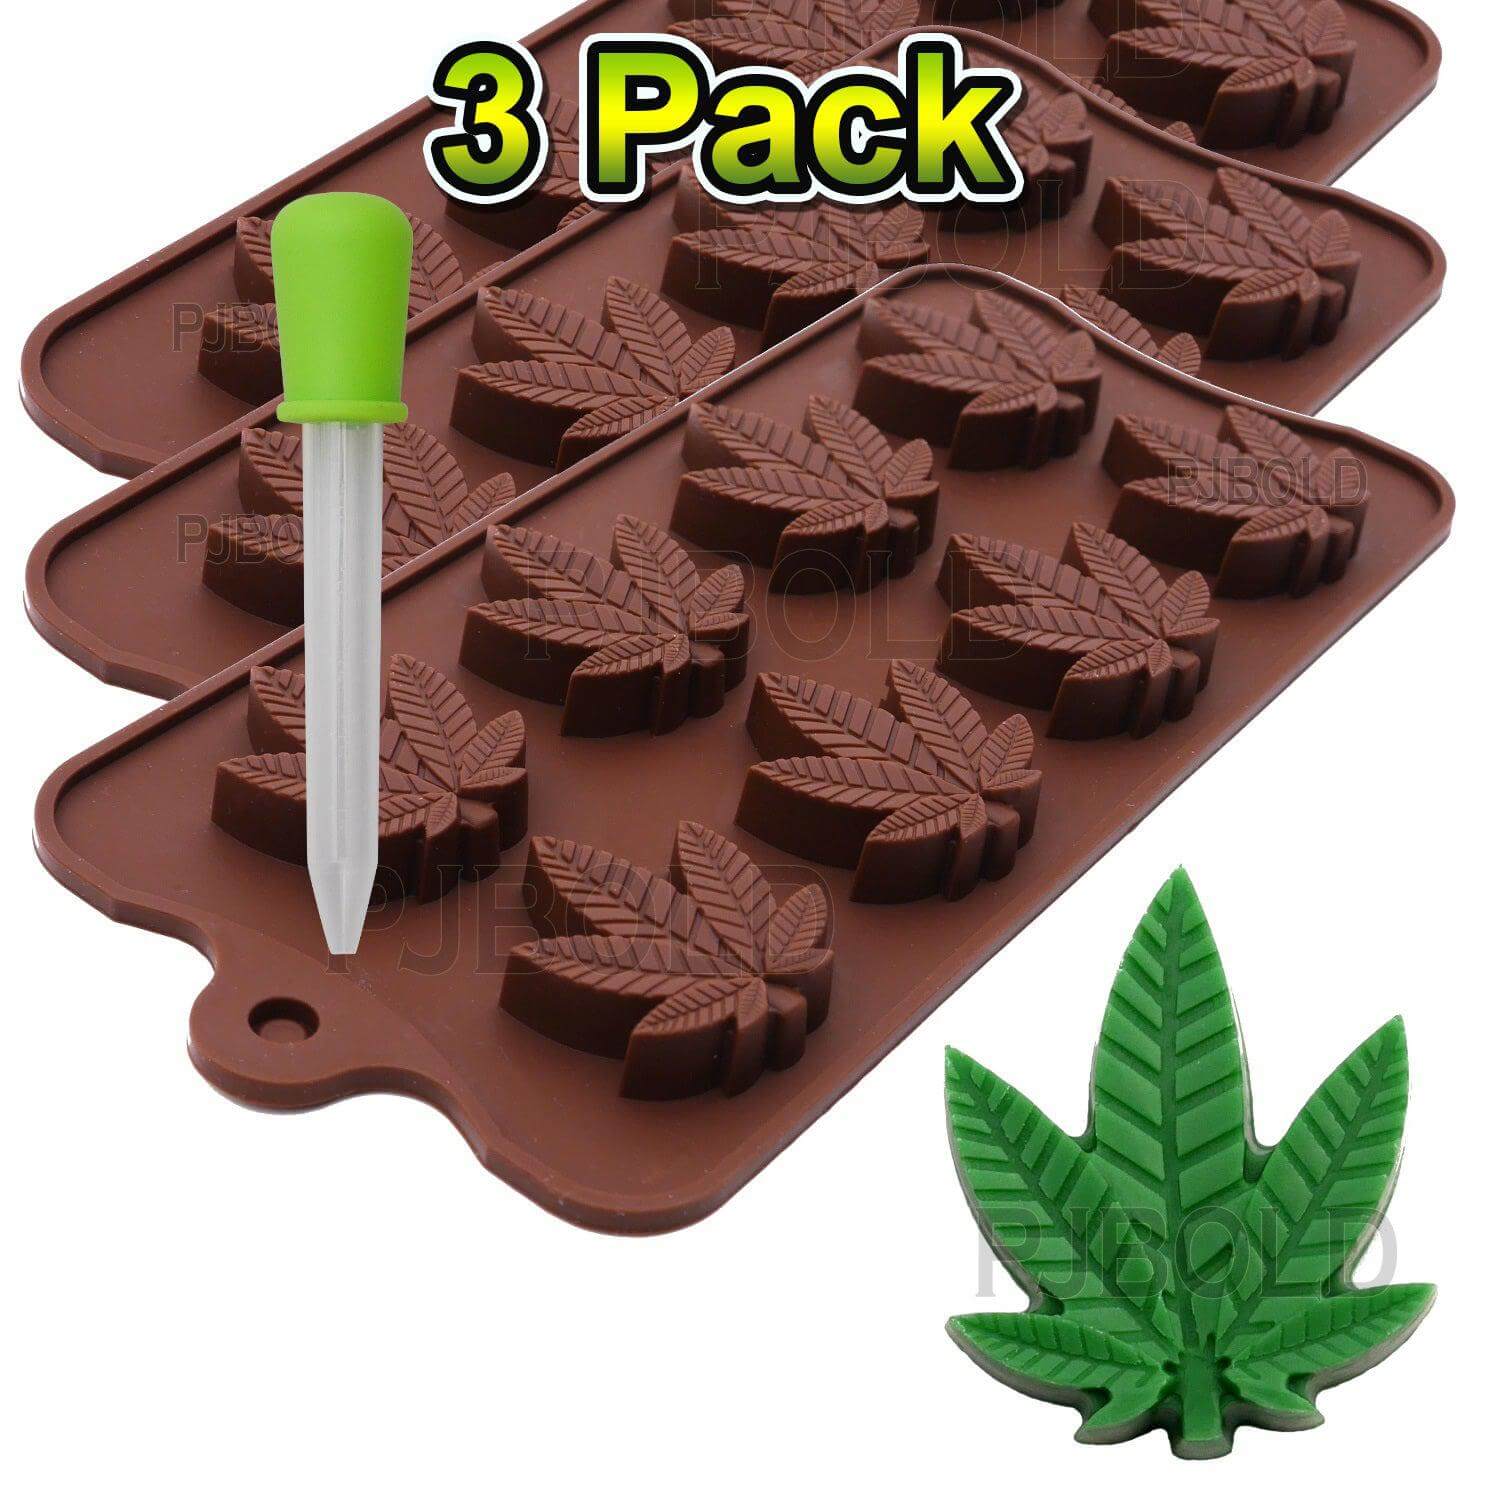 Hemp Leaf 3 Pack Silicone Molds Buy Now
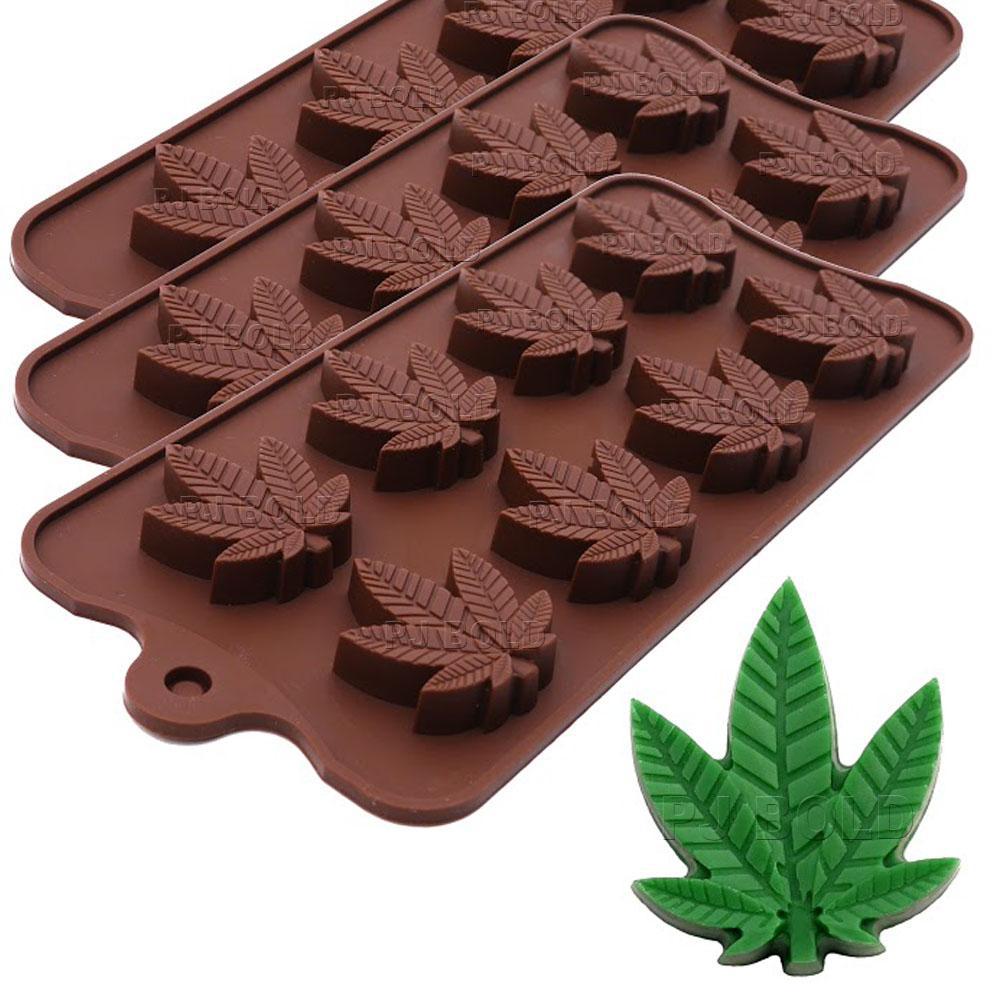
 Leaf Candy Bar Mold Buy Now
 Marijuana Cannabis Hemp Leaf Silicone Molds Buy Now
 Square Silicone Candy Mold Buy Now
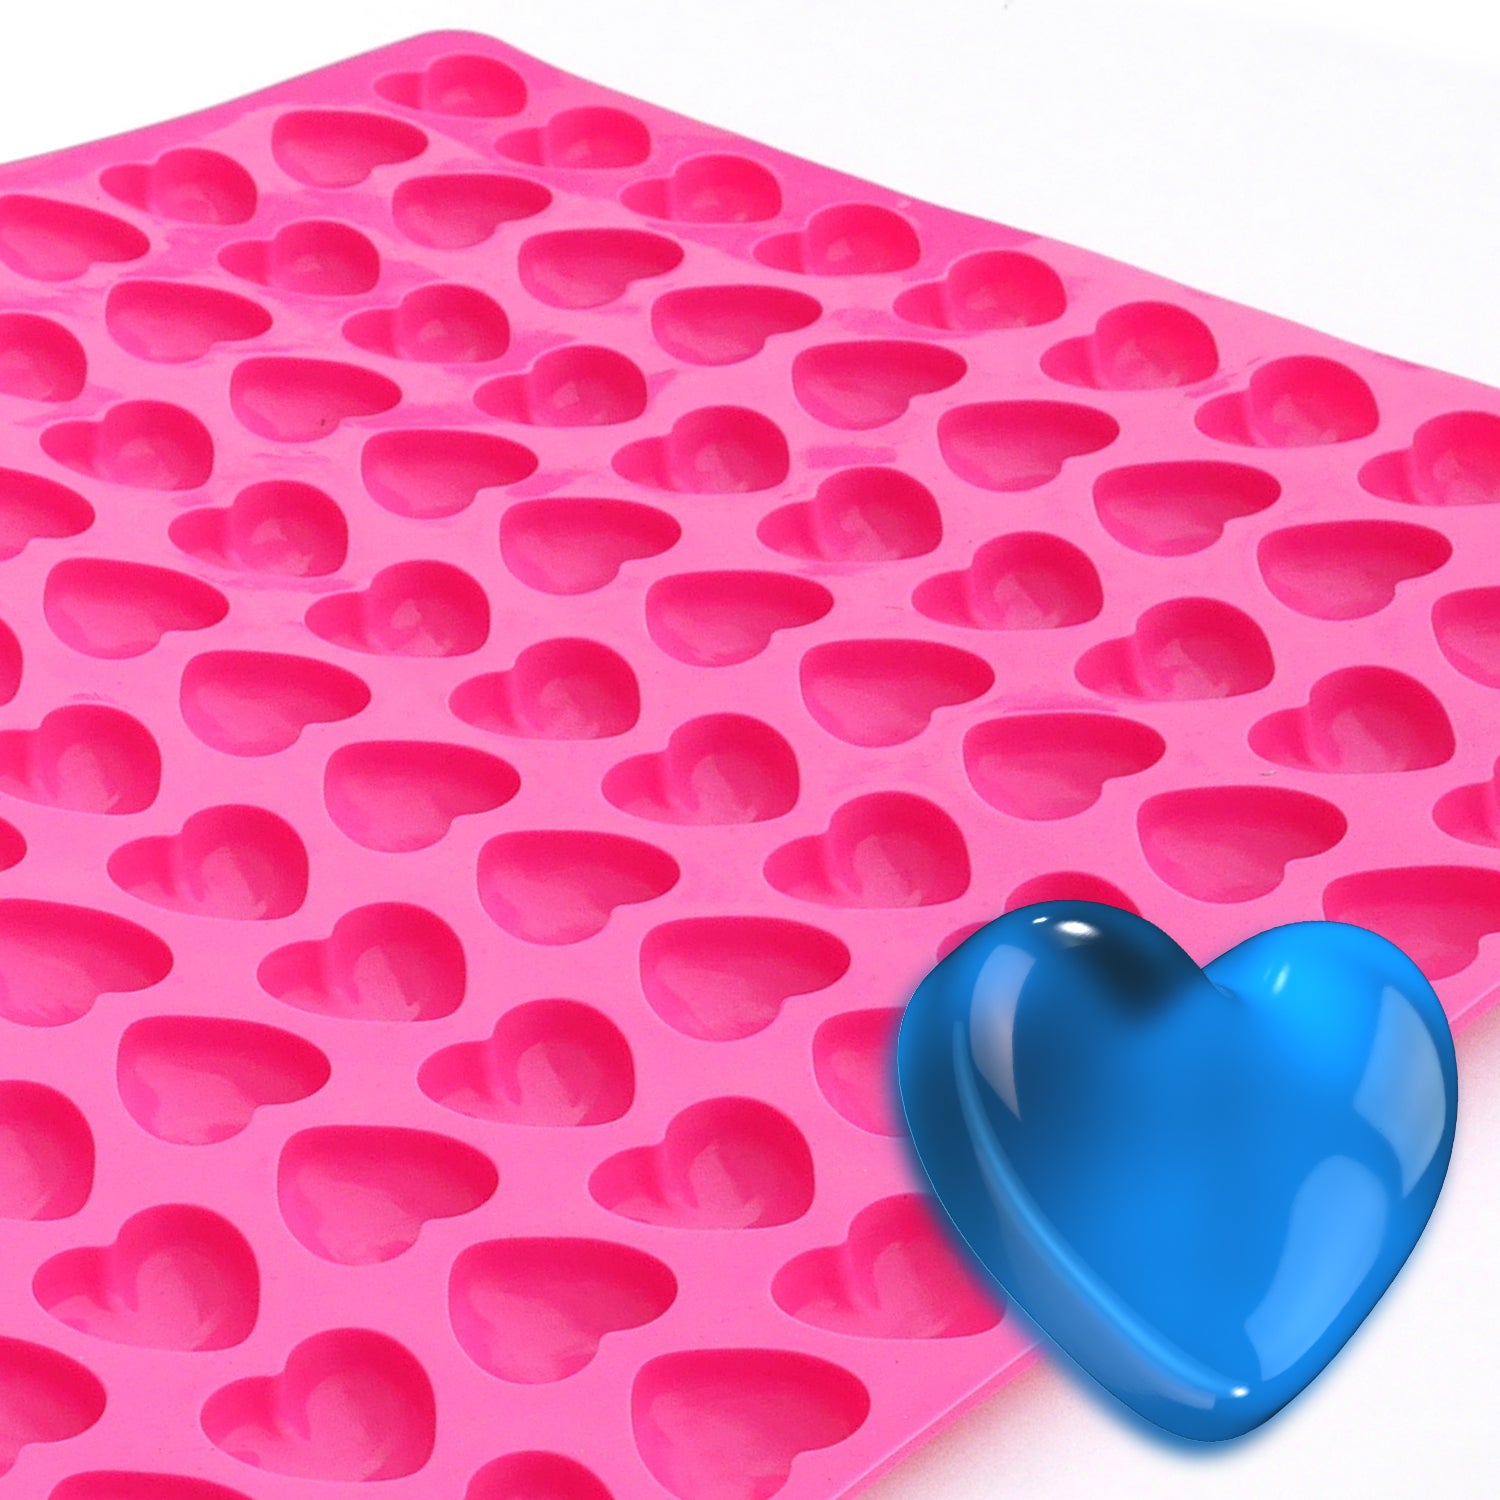 Heart Chocolate Mold Candy Buy Now
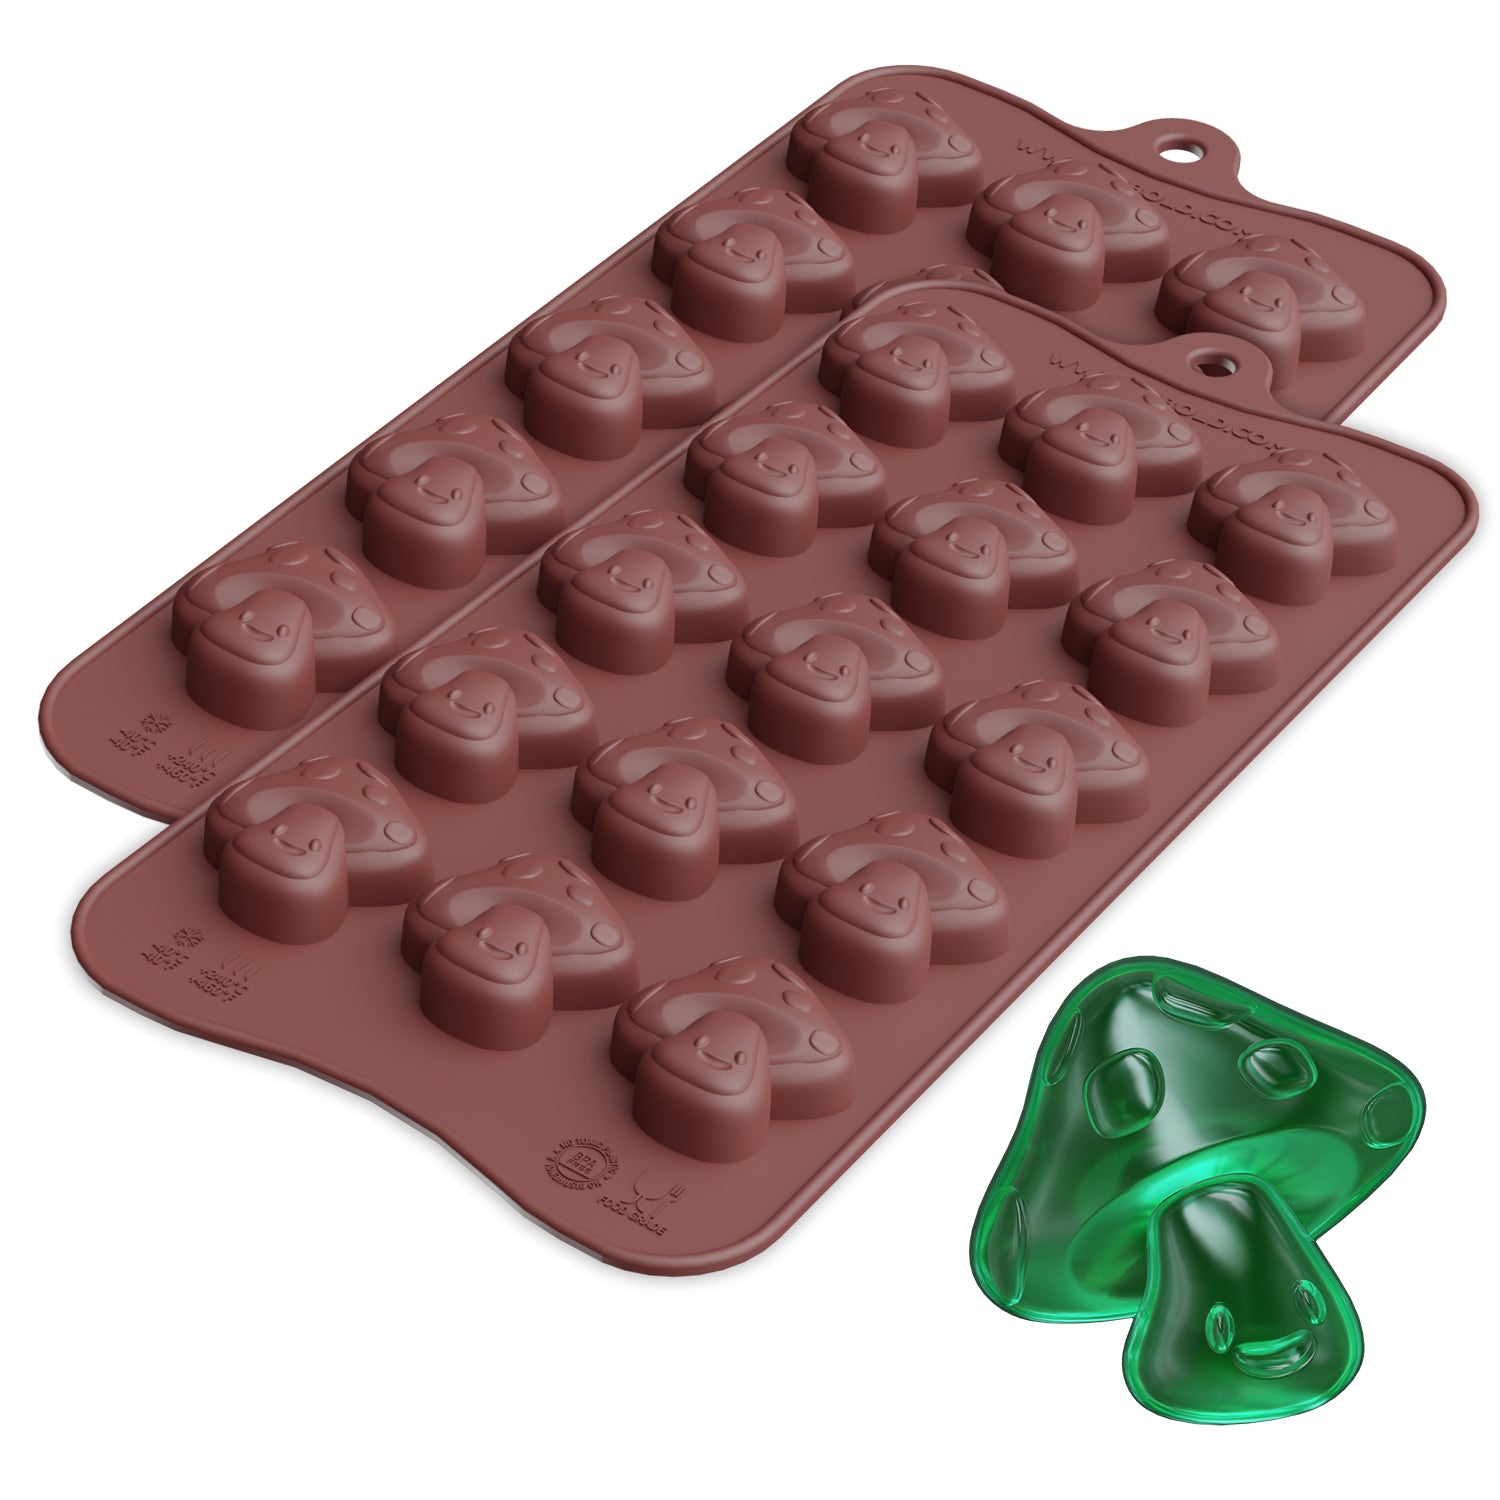 Mushroom Chocolate Silicone Candy Mold Buy Now
What are the Best Fillings for Chocolate Mold Recipes?
The best fillings are those that hold their shape and have a balanced taste. Furthermore, they must adjust well to the chocolate shell.
Filling A: Ganache
Ganache, made from cream and chocolate, is one of the most reliable fillings. It sets with a smooth texture and provides a rich, creamy center that pairs well with both milk and dark chocolate shells.
Filling B: Caramel
Caramel works well because it firms up enough to stay inside the shell without leaking. A slightly salted caramel also balances the sweetness of chocolate, making it a popular choice in holiday candies.
Step-by-Step Guide to Make Chocolate Candy with Silicone Molds
Let’s explore some of the best tips for perfect chocolate candy with silicone molds. Follow the five proven steps coming up next.
Step 1. Choose the Chocolate
Choose couverture (chocolate containing cocoa butter) or compound chocolate for an easier option that doesn’t require tempering.

Step 2. Prepare the Silicone Molds
Before starting, always clean the silicone molds. Wash the molds with warm water and then dry them thoroughly. Thereafter, place the molds on a flat tray. Any moisture or tilt can ruin the finish.

Step 3. Melt the Chocolate
Take the chocolate and chop it into little shreds, and melt it down. For chocolate melting, you can use a double boiler or a microwave in 30 second intervals (must not forget to stir each time).

Step 4. Temper the Chocolate
If you select couverture instead of compound chocolate, you need to apply the seeding method first. Through this process, the chocolate is heated, followed by stirring in order to bring its temperature down. Next, you should take the chocolate into the working range, which places it between about 31-32 °C in dark chocolate and 29-30 °C in milk or white chocolate.

Step 5. Fill, Set, and Unmold
Pour the chocolate into molds and then tap lightly on the counter to remove air bubbles. Thereafter, refrigerate the molds for about 20 minutes. Once firm, gently flex the silicone mold to release the candies.

Part 2. Top Easy Chocolate Candy Recipes to Try at Home
Here are three step by step guide for chocolate recipes that can be made with silicone molds. Each recipe is simple, requires only a few ingredients, and delivers professional looking chocolates without advanced skills.
Recipe A: Simple Molded Chocolate Bars
Chocolate bars remain one of the easiest and most loved recipes. With just melted chocolate and a good mold, you can make smooth, glossy bars at home.
Steps/Method:
1. Melt high quality chocolate using a double boiler or microwave in 20-second bursts. Stir until smooth. You can also use an overhead stirrer for a smooth consistency.

2. Pour the melted chocolate into the chocolate bar molds. Tap the mold gently to remove bubbles.

3. Chill in the fridge until firm.

4. Carefully unmold the dessert and enjoy it plain, or add nuts and dried fruits before serving it chilled.

Recipe B: Filled Chocolate Bonbons with Ganache
Chocolate bonbons recipe with a filled ganache center is a French classic. They are popular because of their rich and creamy texture. The special texture also contrasts with the chocolate shell shape.
Steps/Procedure:
1. First, take melted chocolate and make a shell by coating the inside of truffle molds with it. Chill on set.

2. To prepare the ganache, heat the cream until it begins to steam. Then pour it over the chopped chocolate and stir until smooth and glossy.

3. Let the ganache cool slightly until it thickens.

4. Pipe the ganache into the chocolate shells, leaving space at the top.

5. Seal with a thin layer of chocolate. Chill until completely firm.

Recipe C: No-Bake Chocolate Candy Clusters (Microwave-friendly)
From the mid-20th century, candy clusters have been the most popular recipe done using the microwave oven on chocolate candy. They require no oven or stove.
Steps to Follow:
1. Begin forming clusters by putting the chocolate chips in a microwaveable dish first. Blast in time intervals of 20 seconds and make sure to stir every time it is melted.

2. Stir in the mix ingredients, such as peanuts, almonds, or cornflakes. Then, coat them evenly.

3. Drop spoonfuls of the mixture onto baking paper.

4. Next, we have to chill it until it sets well. Now, you can enjoy it as a no-bake chocolate candy made at home.

Part 3. Which Easy Chocolate Candy Recipes Should Beginners Try?
For beginners, the safest recipe to begin with is the no-bake chocolate candy clusters (microwave-friendly). This recipe works because it solves the problems of chocolate tempering and handling molds.
Why Clusters Are the Best Choice
The chocolate cluster recipe can give the beginners the following advantages.
- Microwave only technique: Chocolate melts perfectly in 30-second bursts with stirring at intervals.
- Minimal active time: The most typical prepared cluster recipe is approximately 10 minutes of a workday with 15-30 minutes of chilling.
- Simple ingredient list: A few, which could be peanuts, cornflakes, or almonds, will be sufficient.
- Well tested amateur success: Clusters offer quality results such as even-flake chocolate coating, crunchy mouthfeel, and no special technique is required.
Part 4. Common Challenges in Chocolate Candy Making and How to Solve Them
No doubt, making chocolate at home is easy, but one may also have to face some problems. Common challenges include cracking of the bars, white blooming of shells, or permanent fixation of candies on the mold.
Let’s explore the reasons for these issues and how to resolve them.
1. Sticking and Difficult Demolding
Chocolates sometimes stick to the mold or snap when you want to loosen them. It normally occurs due to residue, moisture or untempered chocolate that does not allow easy release.
Solution:
To get out of this problem, you have to
- Polish the chocolate molds with a soft cloth before use.
- Freeze the mold for 2–3 minutes only after filling, so the edges contract slightly.
- Ensure proper tempering if using couverture. Untempered chocolate stays soft and grips the mold surface.
2. Chocolate Blooming
The blooming of chocolate is associated with the appearance of white streaks or spots on the surface. It occurs due to poor tempering or sudden temperature shifts.
Solution:
Here’s how you can correct it
- Before refrigerating, the chocolate must adjust to room temperature for a few minutes.
- Use high-quality couverture chocolate with proper cocoa butter content. Cheap blends often bloom regardless of technique.
Before you start your next batch of chocolates, it’s worth understanding how sugar bloom affects chocolate. This guide explains why those white streaks appear, how storage plays a role, and the simple steps you can take to keep your homemade treats looking glossy and professional.
3. Thin Shells and Breaking Bars
Candy cracking or shell collapse, which happens during the unmolding of the candy, is also another common problem. The main cause of this issue is that the layer of chocolate inside the mold is too thin or irregular.
Solution:
This problem will be solved when you
- Always coat molds with a slightly thicker first layer of chocolate.
- Warm molds slightly before filling, especially in cold kitchens. A pre-warmed mold helps the chocolate flow smoothly and grip the surface.
4. Safety Concerns with Molds
Safety concerns happen when one uses unsafe or low-quality molds that may leach chemicals. People buy silicone molds online from unreliable sources that are not even food-grade.
Solution:
You can solve this issue by
- Buying food grade silicone molds from only certified sources. Labels should meet FDA or EU food safety standards.
- Avoid colored molds with cheap dyes that are not certified for food use.
For a detailed breakdown of the risks, check our full guide on food grade vs non-food grade silicone to understand why certification matters.
Part 5. Why Tempering and Safety Matter in Chocolate Candy Making
The process of making perfect chocolates requires science and safety at every step. Let’s discuss some basics about chocolate tempering science and food safe silicone molds.
Tempering Science: The Role of Cocoa Butter Crystals
The chocolate will be stable only when cocoa butter forms the correct crystal structure. Out of six possible forms, Form V crystals give the perfect shiny and smooth texture. Without V crystals, chocolate looks dull and melts too fast.
To form the V crystals, you must:
- Cool the dark chocolate within a range of 31–32°C.
- Stabilize milk and white chocolate at 29–30°C.
Additives That Simplify Tempering
Soy lecithin and polyglycerol polyricinoleate (PGPR) are emulsifiers that decrease viscosity and allow easier tempering. These additives also suppress the chances of seizing and maintain the flow flexibility. If they are used correctly, they will not compromise flavour quality or texture.
Safety Standards for Silicone Molds
The mold you choose must be proven safe for food contact.
- In the United States, food-grade silicone must comply with FDA 21 CFR 177.2600. This standard checks for extraction limits and thermal safety.
- In Europe, the European Food Safety Authority (EFSA) regulates silicone contact with food to the same strict standards.
Any mold that does not meet the above safety standards can leach chemicals when exposed to heat. Reliable molds are odourless, stable up to 220–230°C, and sold with official compliance marks. Buy the most reliable molds now from PJ Bold.
Part 6. Why Use Silicone Molds for Chocolate Candies?
Silicone molds are used for chocolate candies because they offer a smooth chocolate release and protect delicate designs from breaking.
You don’t need to hit these molds on the corners, as they bend easily and let the candy move out readily.

Advantages of Silicone Molds for Chocolate
Silicone molds provide their users with various features, including:
Temperature resistance
Silicone molds typically tolerate a temperature range from 40 °C to 230 °C, so they can be used safely in both freezers and ovens.
Flexibility
Silicone molds provide flexibility by keeping delicate edges and patterns intact.
Durability
High-quality silicone molds resist tearing, bending, and repeated heating or cooling without losing shape.
Creative variety
Silicone molds come in different varieties. The available options include silicone chocolate molds, chocolate bar molds, and truffle molds.
Unlike polycarbonate molds, silicone molds offer an easy cleaning process. A simple wash with warm water and mild soap is all it takes to prepare your molds for the next batch.
Many beginners have the same question—how do you actually start filling chocolate molds with caramel or ganache? A Reddit user shared their experience and request for guidance, which sparked a helpful discussion.Recipes/ideas for chocolate mold fillings
byu/Pandi4510 inchocolate
Conclusion
Silicone molds make chocolate candy recipes easy and reliable. They stop candies from sticking, protect shapes, and give them a smooth finish. Bars, bonbons, and clusters can all be made at home with simple tools.
Perfect results depend on science and safety. Stable Form V cocoa butter crystals give shine and snap, while emulsifiers like lecithin or PGPR keep flow steady. Cooling at the right range keeps chocolates stable. Food-grade molds tested under FDA and EFSA rules ensure safety. For creative, safe, and durable molds, PJ Bold is the brand to trust.
Frequently Asked Questions
1: What chocolate type gives the best shine in molded candies?
Use couverture or chocolate with high cocoa butter content. These melt smoother and give a glossy finish once they set. Lower-quality or “compound” chocolates may lose shine and look dull after unmolding.
2: Why does my chocolate stick to the mold?
Your chocolate sticks to the mold due to residue, moisture, or poor tempering. To avoid sticking, you must polish molds before using and also ensure proper tempering.
3: How long should I wait before unmolding chocolates?
Wait until the chocolates are fully firm, usually 15–30 minutes in the fridge. If they feel soft, they’ll break or lose shape when taken out. Chill just enough so the edges pull away from the mold slightly, then flex the mold to release cleanly.
4: How do I clean silicone molds after use?
Wash silicone molds with warm water and a light dishwashing soap. Then fully dry the molds before storing. Try to prevent off flavours in your next batch.


