


Gummy worms are soft, chewy candies that many people enjoy. Making gummy worms at home is easy, fun, and a great way to control the ingredients. When you make them yourself using gummy worm molds, you can choose the flavors and colors you like best. You also avoid artificial colors and flavors that some store-bought gummies have.
This article will teach you how to make gummy worms. You'll find out what ingredients and tools you need, how to mix the gummies, and how to shape them like worms. This easy recipe is great for families, parties, or just making a fun homemade treat.
Quick Steps to Make Gummy Worms:
- Bloom Gelatin: Soften gelatin powder in cold water for 3–5 minutes.
- Heat Juice & Sweetener: Warm fruit juice and dissolve sweetener without boiling.
- Mix Gelatin: Stir bloomed gelatin into warm juice until fully dissolved.
- Fill Molds: Use a dropper to pour mixture into gummy worm molds carefully.
- Chill: Refrigerate molds for at least 30 minutes to set.
- Remove Gummies: Gently pop gummy worms out of the molds and enjoy.
Understanding the differences between pectin and gelatin gummies can help you choose the right texture and taste for your gummies, making your homemade treats even better.
Part 1- What are the Ingredients & Tools to Make Gummy Worms?
A- Ingredients Needed
To make gummy worms, you need just a few ingredients that are easy to find:
|
Ingredient |
Description |
Notes |
|
Fruit Juice or Gelatin Mix |
Natural juices (apple, orange, grape) or flavored gelatin packets for color and flavor. |
Juice is fresh; gelatin mix is convenient. |
|
Unflavored Gelatin |
Gives gummy worms their chewy texture. |
Found in the baking aisle; essential. |
|
Sweetener (Optional) |
Honey, sugar, or stevia to add sweetness if needed. |
Some gelatin mixes are already sweetened. |
|
Water |
Used to soften (bloom) gelatin before mixing. |
Ensures smooth gelatin dissolving. |
Substitutions:
If you want vegan gummy worms, you can use agar agar powder instead of gelatin. Agar agar is a plant-based thickener, but may give a slightly different texture. Also, you can swap honey with maple syrup or sugar, based on what you have at home.
B- Tools and Equipment
Here’s what you need to make gummy worms at home:
|
Tool |
Purpose |
Notes / Alternatives |
|
Silicone Gummy Worm Molds |
Shape gummies with worm ridges; easy to remove |
Use alternatives if no molds are available |
|
Eye Dropper / Syringe |
Fill molds carefully without spilling |
Usually comes with molds |
|
Baking Tray |
Hold molds steady when moving to the fridge |
Prevents spills |
|
Alternatives |
Use a greased loaf pan and cut strips, or fill plastic straws and cut after chilling |
For no-mold options |
Alternative:
If you don’t have molds, you can pour the mixture into a greased loaf pan. After the gummy mixture sets, cut it into strips with a sharp knife to make worm-like shapes. You can also fill plastic straws with the mixture, chill them, and cut them into pieces.
You might find our blog on gummy making machines helpful if you're looking for ways to simplify the process.
Part 2- Step-by-Step Preparation to Make Gummy Worms

1- Bloom the Gelatin
Put the gelatin powder into a small bowl and add about one tablespoon of cold water. Stir gently to mix. Let the gelatin sit for 3 to 5 minutes to absorb the water and soften. This is important because it helps the gelatin dissolve better later, giving your gummy worms the right chewy texture.
2- Heat the Juice and Sweetener
Pour your fruit juice into a small saucepan. Add honey, sugar, or any sweetener you're using. Warm the mixture slowly over medium heat, stirring occasionally, until the sweetener dissolves completely. You want the juice to get hot enough to bubble lightly, but don't let it boil strongly, as this can change the flavor and texture.
3- Add Gelatin to the Juice
Once the juice mixture is warm, quickly add the bloomed gelatin to the saucepan. Stir gently and carefully until the gelatin has completely dissolved. This step is crucial for your gummy worms to set properly and have a smooth, even texture. Avoid using a whisk, as it can add air bubbles that cause holes or rough spots in the gummies.
4- Fill the Molds
Use an eye dropper or small syringe to fill each mold cavity with the gelatin mixture to the top. This will give your gummy worms a nice thickness and the right shape. Take your time to avoid spilling and try not to trap air bubbles, which can make your gummies look uneven or bumpy.
Afterwards, learn how to clean silicone molds properly to keep them in great condition for your next batch.
5- Chill to Set
Carefully place your filled molds on a baking tray to make them easy to carry and keep steady. Put the tray in the fridge and let the gummy worms chill for at least 30 minutes. They need this time to become firm and hold their shape.
6- Remove and Enjoy
After the gummies have fully set, gently push them out of the molds. The silicone molds are flexible, so they should come out easily. Now your homemade gummy worms are ready to eat and enjoy!
For more simple and tasty homemade treats, check out our blog on delicious and nutritious DIY candy recipes.
Tips to Make Gummy Worm Tasty and Look Different
- Change the Juice: Use various fruit juices like apple, orange, grape, or cranberry for different colors and tastes. You can even mix two juices for new flavors.
- Juices to Avoid: Don't use fresh pineapple, kiwi, mango, or papaya juice. They contain enzymes that stop gelatin from setting, so your gummies won't firm up.
- Adjust Sweetness: Add more or less honey or sugar to make your gummies as sweet as you like. If your juice is already sweet enough, you can leave out extra sweeteners.
For best results with shaping and removing your gummies, understanding how to use silicone molds can make a big difference.
Part 3- What Molds Can You Use for Gummy Worms?

Special gummy worm molds are the best way to get those perfect, wiggly shapes. These molds are usually made of soft, bendy silicone. This makes it super easy to take your finished gummies out without them sticking.
You simply fill each little worm shape with your gummy mix, let it chill until firm, and then gently pop the worms out.
But don't worry if you don't have special worm molds! You can still make tasty homemade gummies. Here are some other easy ways to shape them:
- Loaf Pan Method: Pour your gummy mixture into a greased loaf pan. Once it's firm, you can easily cut the solid gummy block into thin strips that look just like worms.
- Straw Method: You can fill plastic straws with your gummy mixture. After they've chilled in the fridge and become firm, cut the straws into smaller, bite-sized gummy pieces.
- Other Silicone Molds: If you have other silicone molds at home, like ones for stars, hearts, or other fun shapes, feel free to use those! Your gummies won't be worm-shaped, but they'll still be delicious and fun to eat.
Part 4- How to Store Your Gummy Worms (and How Long They Last)
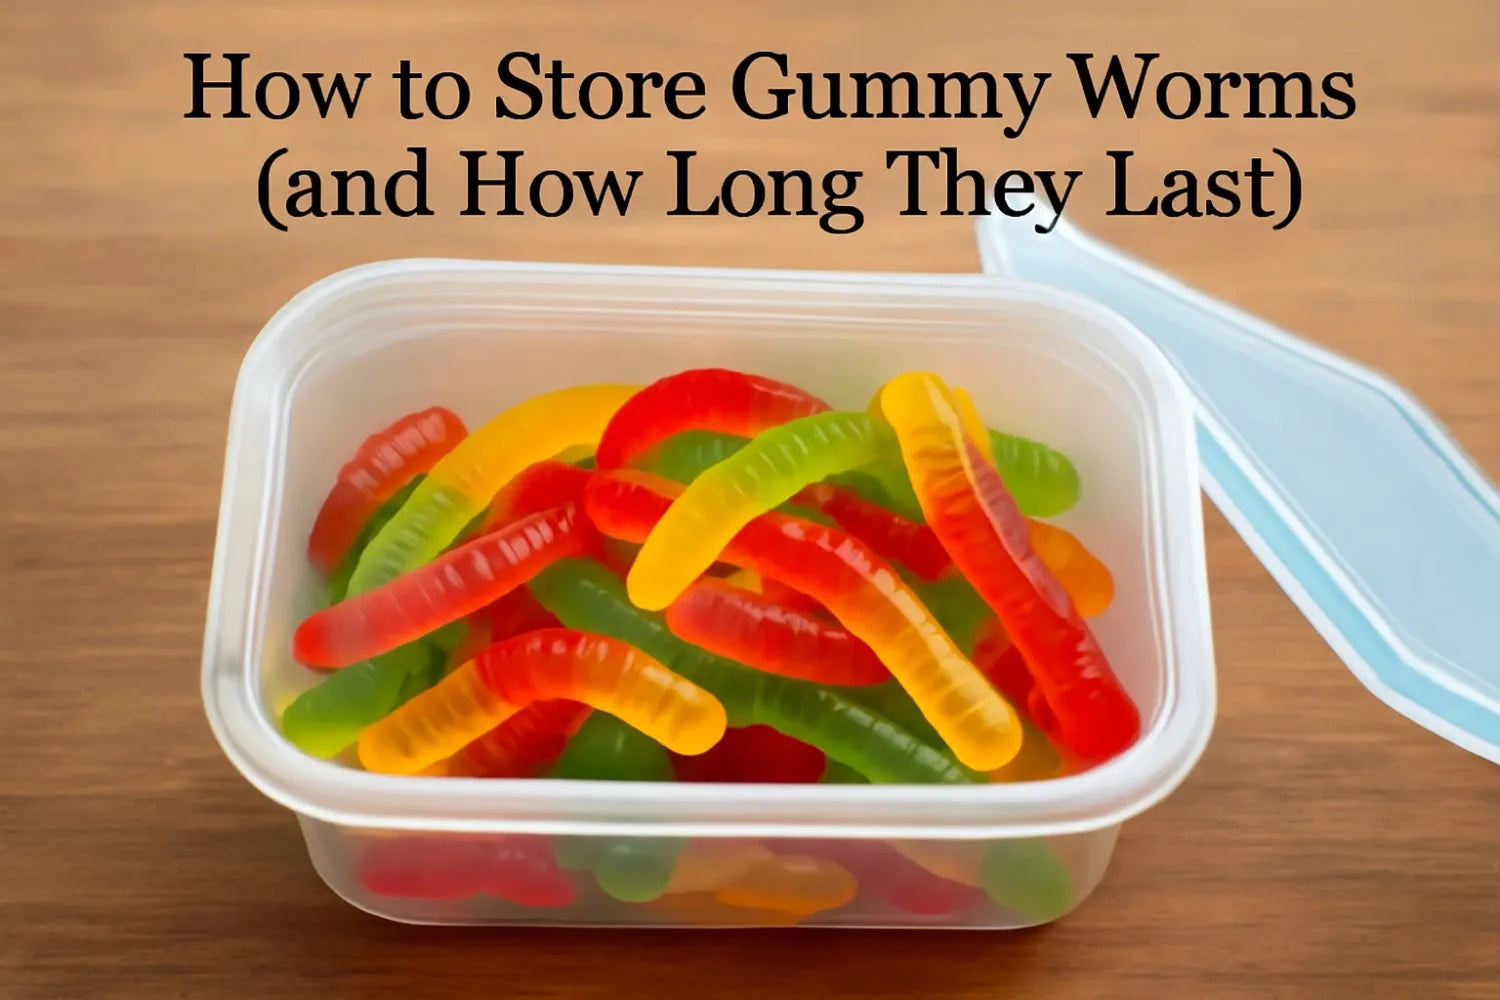
Once your homemade gummy worms are ready, it's important to store them correctly so they stay fresh and tasty.
- Use an Airtight Container: Always put your gummy worms in a container that seals tightly. This keeps air out, which helps prevent them from drying out or getting sticky.
- Store in the Refrigerator: The best place to keep your homemade gummies is in the fridge. The cool temperature helps them stay firm and stops them from melting or getting gooey, especially if your kitchen is warm.
- How Long Do They Last: When stored correctly in an airtight container in the refrigerator, your homemade gummy worms will stay fresh for about one week.
- Avoid Room Temperature: It's generally best not to keep them out on the counter. If left outside the fridge, especially in warm places, your gummies might become very sticky, soft, or even melt.
To make tasty gummies at home with easy instructions on how to make edible gummies, read our step-by-step guide.
Common Problems and How to Fix Them
Making gummies is usually easy, but sometimes things don't go perfectly. Here are some common issues you might face and simple ways to fix them:
|
Problem |
Cause |
Solution |
|
Gummies don’t set |
Gelatin not properly mixed or old; certain juices block setting |
Bloom gelatin well; dissolve fully; avoid pineapple, kiwi, mango, papaya juices |
|
Air bubbles in gummies |
Stirring too fast or pouring too quickly |
Stir gently; fill molds slowly; tap molds to release bubbles |
|
Gummies too soft or firm |
Incorrect gelatin amount |
Adjust gelatin quantity: add more for firm, less for soft |
|
Sweetness too high or low |
Personal taste differences |
Adjust honey/sugar amount; taste before adding gelatin |
If you enjoy making treats at home, try our easy homemade chocolate recipe next. It’s a great way to complement your gummy creations.
Conclusion:
Making your gummy worms at home is truly simple and fun! With just a few basic things you likely have or can easily get, and following some easy steps, you can create colorful, chewy, and tasty gummy worms.
Feel free to try out different fruit juices to experiment with new tastes and get creative with how you shape them. It's a sweet activity that's great to enjoy by yourself or share with friends and family!
For the best results, explore our gummy worm molds here and browse our full gummy molds collection here.
Frequently Asked Questions
How Can I Make My Gummy Worms Less Sticky?
If your gummy worms feel a bit sticky after setting, you can lightly dust them with a tiny bit of cornstarch or powdered sugar. Just put a small amount in a bag with the gummies and shake gently to coat them.
What If I Don't Have an Eye Dropper or Syringe to Fill the Molds?
No problem! You can carefully pour the mixture into the molds using a small spoon, or even a squeeze bottle if you have one with a small tip. Just be patient to avoid spills.
Can I Make Sugar-Free Gummy Worms?
Yes, you can! Just use a sugar-free fruit juice and your favorite sugar substitute (like stevia or erythritol) instead of honey or regular sugar. Always check that your sugar substitute is safe to heat.


